Render Studio 基本知識
![]()
僅為提供。
這個部分說明 Render Studio 基本的操作與工作流程。
在 Render Studio 中的操控
Customize navigation in Render Studio to accommodate familiarity with some traditional CAD systems. See Setting Preferences for more information.
渲染是在伺服器上進行的,在伺服器上的作業與在客戶端上所看到的影像呈現間會有某一程度的延遲;例如,旋轉零件時界限方塊的顯示情形。模型的複雜程度會是影響延遲的一個原因。
Multiple users in the same Company/Enterprise can work on a scene, provided they have document permission; however, two or more people cannot work on the same scene at the same time. Real-time collaboration is not supported.
Mouse Navigation
Render Studio supports most common mouse devices. See Mouse controls for more information on setting up your mouse controls for use with Onshape.
Additionally, Render Studio supports the 3Dconnexion SpaceMouse. See your SpaceMouse instructions for information on how to set up your mouse with Onshape.
Tooltips
When working with the Scene, Appearance and Environment panels on the right side of the page, tooltips are available from all parameter settings. Hover the mouse over the parameter label for a second to reveal the tooltip (see below):

Merging
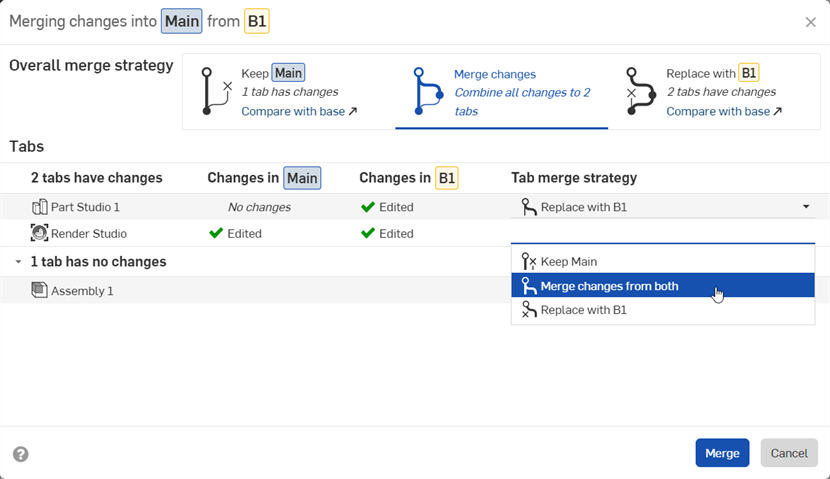
Merging is supported for Render Studio tabs. See Merging for more information.
基本工作流程
建立 Render Studio:
-
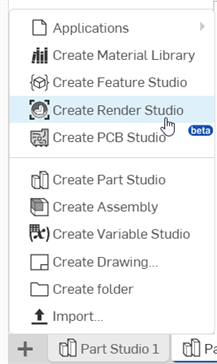
From a Part Studio or Assembly, click the Insert new tab icon (
 ) in the Tab bar and select Create Render Studio:
-
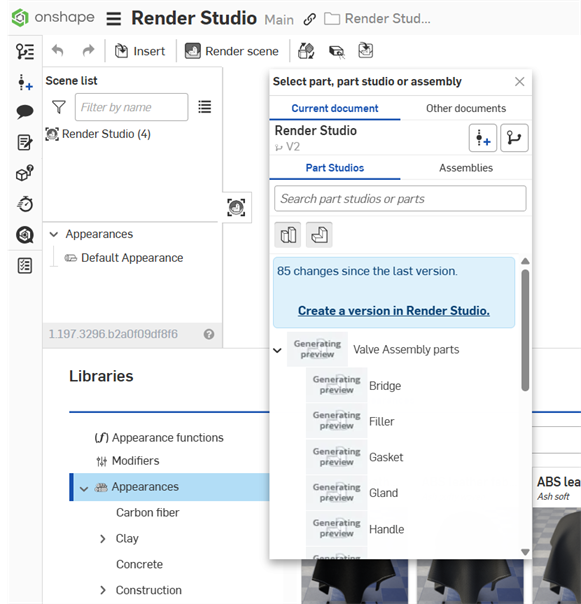
The Render Studio tab and Select part, part studio, or assembly dialog open:
-
Select one or more parts, Part Studios, or Assemblies from the dialog:

-
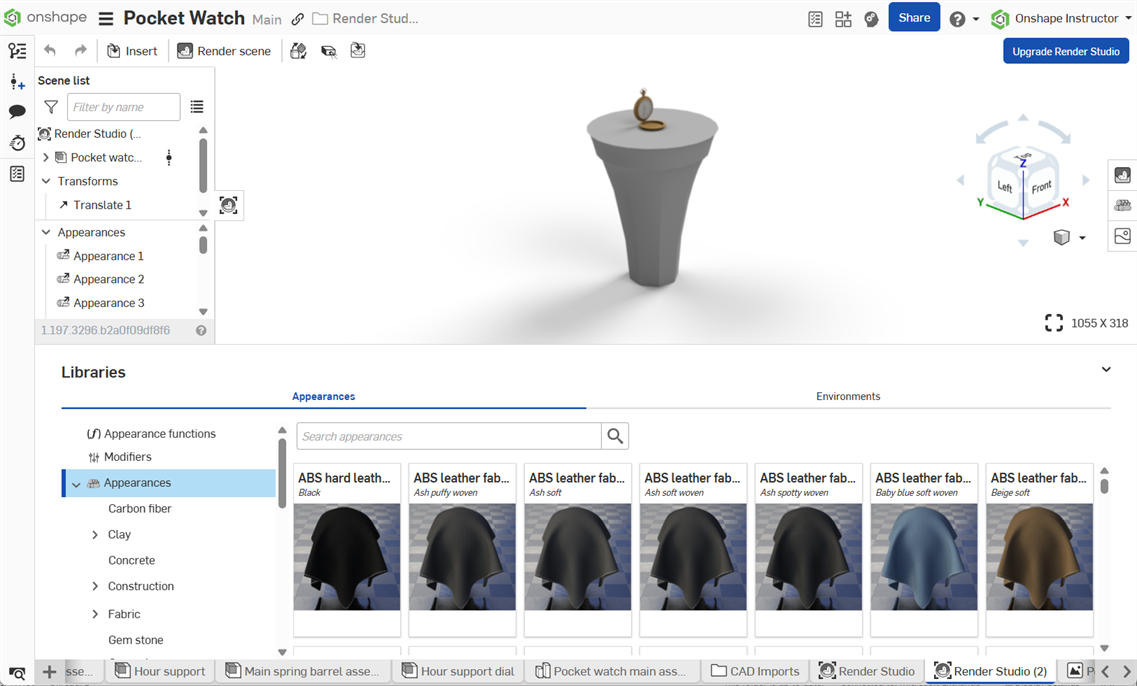
場景於目前的 Render Studio 分頁中開啟:
-
Edit the scene in Render Studio. There are several options to edit the scene. For example:
See Render Studio interface for additional information.
-
Once edits are complete, click the Render scene button on the toolbar to open the Render options dialog and adjust render settings:
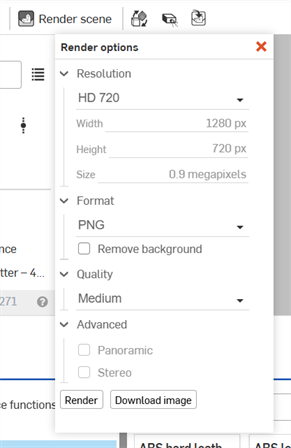
See Render options for more information about the options in this dialog.
-
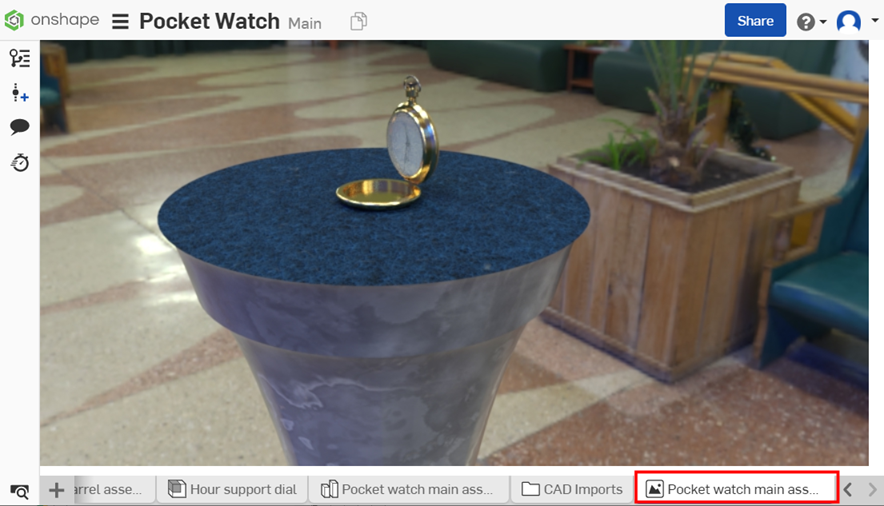
當進度完成時,按下右上角的 X 來關閉對話方塊。渲染的影像會位在 Render Studio 分頁右側的新分頁中:
Render Studio scenes can be thought of as a snapshot (version) of the Document at the time an entity is first imported into the scene. For this reason, a version is required before an entity is imported. Click the "Create a version in [Document]" link, fill out the information in the Create version dialog, and click the Create button. Once this is done, all Document assets become available, and you can import any parts, Part Studios, or Assemblies from the Select dialog.
Once an entity is imported into the Render Studio tab, anything created in (or imported into) the document outside this Render Studio tab is not accessible to this Render Studio scene unless a new version is created.
You can also click the Create version button (![]() ) on the Document panel to open the Create version dialog and create a version at any time. See Versions and history for more information.
) on the Document panel to open the Create version dialog and create a version at any time. See Versions and history for more information.
圖片渲染是在伺服器上發生的,因此對比客戶端的呈現 (在本機電腦上看到的) 會有一些延遲時間。此外,取決於插入至 Render Studio 中零件與組合件的複雜程度,一開始可能會看起來相當粗糙或是有顆粒的。這種情況是正常的。在完全載入項目之後,圖片會慢慢變為清晰。當您執行複雜的操作時,也可能會有此種情形出現。
Click the Render button. The render is processed.
Accessing a Render Studio tab after reloading the browser
When reloading the Render Studio browser tab or accessing the Render Studio tab directly from the Documents page, you are presented with the following choice:

-
Select Render scene (
 ) to open the scene and Render options dialog simultaneously. This is useful if you do not wish to make any scene edits, and instead want to immediately render the scene. See Render options for more information.
 -
Select Edit Render Studio (
 ) if you wish to access and continue editing the scene.
See Render Studio Interface for more information.