Render Studio Interface
![]()
Only available for
The sections below explain how each area of the Render Studio tab's interface works.
Unless stated otherwise, these options are available for all standard Render Studio users. See Render Studio Advanced for upgraded options.
Located at the top of the page, the toolbar contains several commands that are commonly performed when working in Render Studio:

For more information, see Toolbar.
Located on the left side of the page, the Scene list provides part, Part Studio and Assembly information for the current Render Studio scene.
When an option in the Scene list is selected, the Scene, Appearance, and Environment panels to the right display related submenus and their editable parameters. See the Scene, Appearance , and Environment panel sections for a comprehensive list of parameter options.
The Appearance panel only shows available parameters if a single Scene list item is selected. Press the spacebar to deselect all items and then select one item in the Scene list.
Any entities in the scene list except Transforms and Projectors can be multi-selected (selected together in a grouped selection). Transforms and Projectors are single selections only.
The Scene list is split into two scrollable sections:
-
Scene list geometry (upper section) - Contains all the geometry in the scene, as well as any Transforms and Projectors.
-
Appearances (lower section) - Contains all the Appearances used by the geometry in the scene.
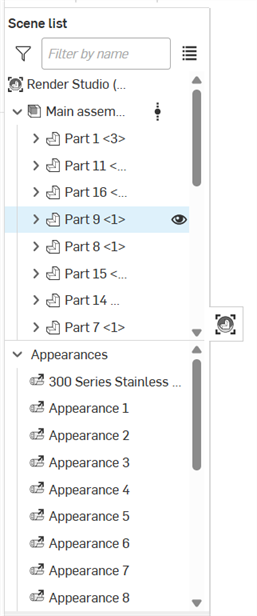
To adjust the Scene list width, hover the cursor over its right edge. When the cursor turns into a double-sided arrow, click and drag to resize.
For more information, see Scene list.
The Graphics area is where the scene is visually located. It appears in the center of the Render Studio application, outlined in red below:
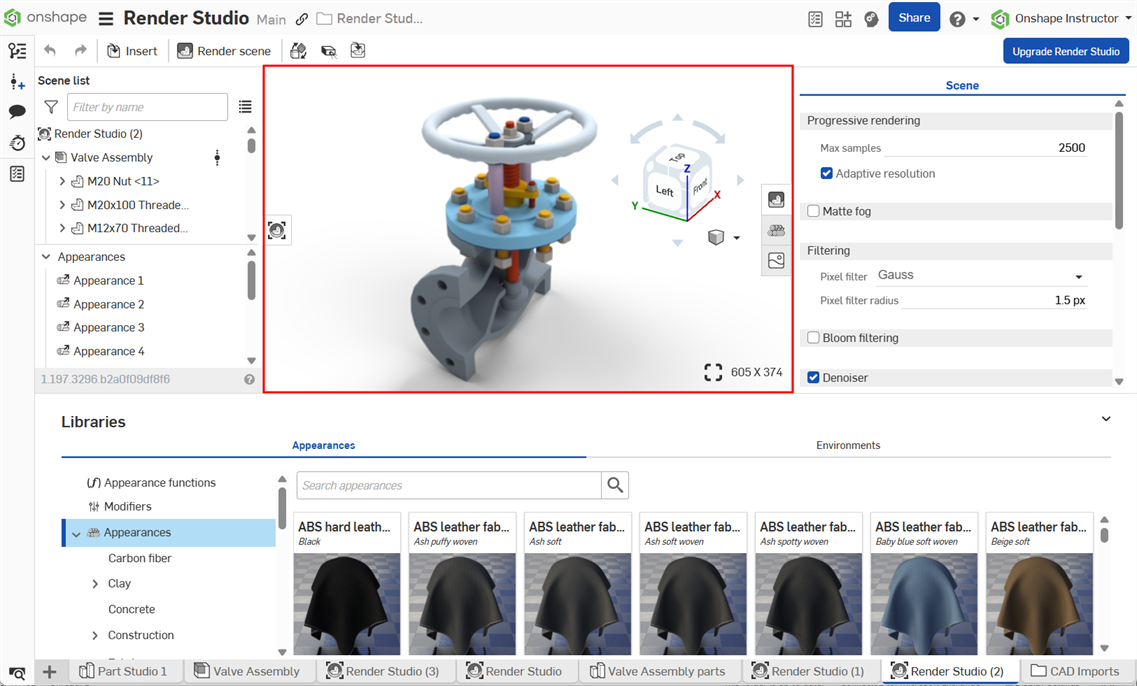
For more information, see Graphics area.
Located at the bottom of the page, the Appearances library contains all the standard attribute combinations that are applied to parts, part faces, or surfaces, to provide a material texture, as well as functions that are applied to appearance parameters:
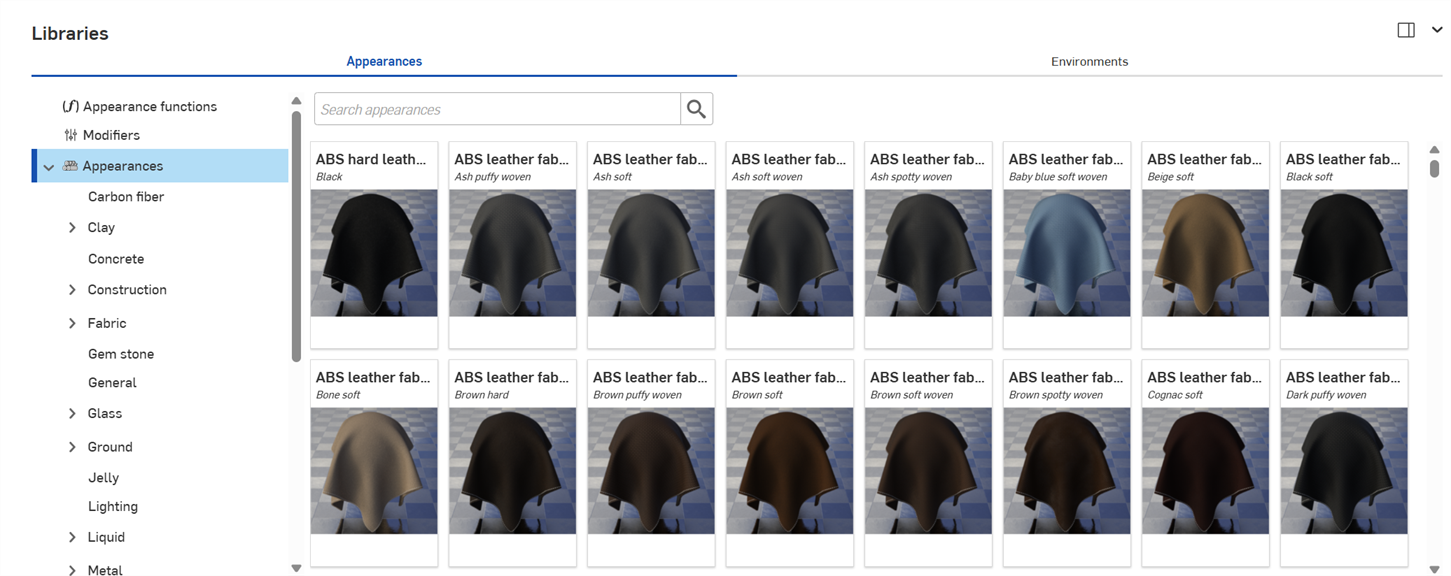
Search
Use the Search appearances field to narrow the appearance results in the library. The Search appearances field only locates appearances within the selected folder. For example, in the image above, if the Ceramic folder is selected, typing a keyword into the Search appearances field and pressing the Enter key shows only results within the Ceramic folder.
Use "and", "+", and "or" operators between words to further refine the search.
Once narrowed by the search, results appear as a thumbnail list on the right side of the Appearances panel. To clear the search, delete the keyword(s) in the Search appearances field and press the Enter key or press the clear field icon (![]() ).
).
Switching between the horizontal and vertical library views
Click the Show library in the right panel icon at the top right corner of the panel to show the library in the right panel:

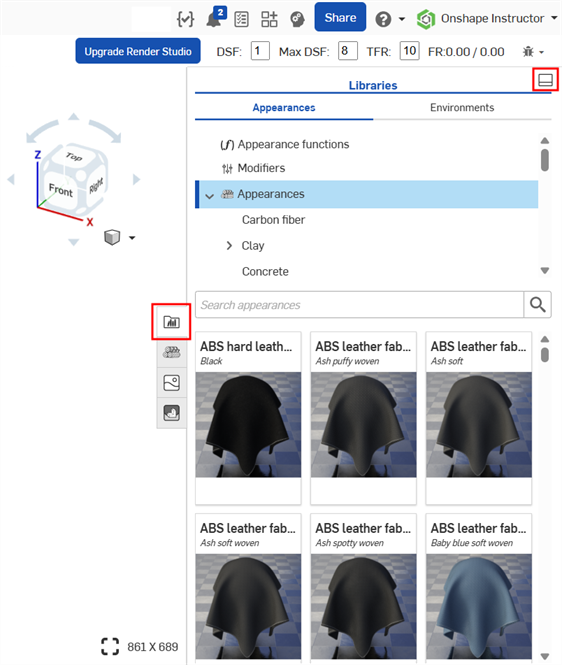
Click on the library panel icon (![]() ) to close the panel. Click it again to open it.
) to close the panel. Click it again to open it.
To place the library back in its default horizontal position, click the Show library in the bottom panel button located at the top right corner of the panel (highlighted in red in the above image).
To apply an Appearance function to an Appearance parameter while the Appearances library is in the right panel, drag the Appearance function on top of the Appearance panel icon and hold until it opens. Then drop the Appearance function on the parameter in the panel. See Using appearance functions for more information.
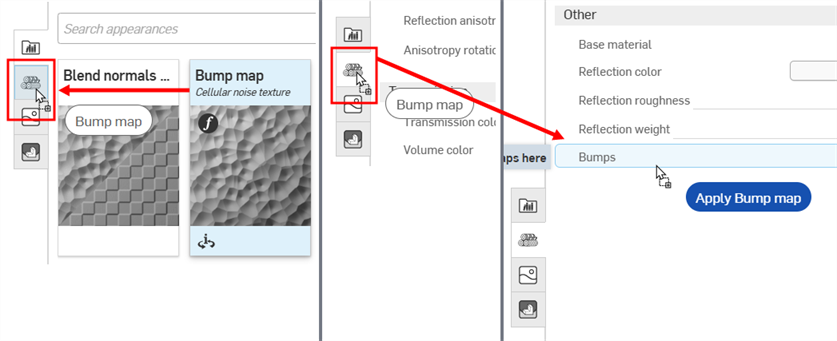
Dragging the Bump map Appearance function over the Appearance panel icon (left). The Appearance panel opens (middle). While still holding, drag the Bump map Appearance function on top of the Bumps parameter in the Appearance panel (right).
Hide/Show library
To hide/show the Libraries panel, click the expand/collapse toggle (![]() ) at the top right corner of the panel.
) at the top right corner of the panel.
View Appearance name
If the entire name of the Appearance is not visible, hover over the name and a tooltip reveals the complete name:
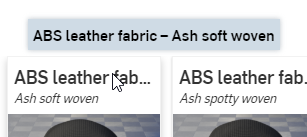
View Appearance description
Click the View description toggle (![]() ) at the bottom of the Appearance card (top left image below) to flip it and reveal a short description of the Appearance on the back of the card (top right image below). If the description is too long for the card container, hover your cursor over the text for a moment and the card expands to reveal the full description (bottom image below). Click the View description toggle again to flip the card to the thumbnail on the card front.
) at the bottom of the Appearance card (top left image below) to flip it and reveal a short description of the Appearance on the back of the card (top right image below). If the description is too long for the card container, hover your cursor over the text for a moment and the card expands to reveal the full description (bottom image below). Click the View description toggle again to flip the card to the thumbnail on the card front.
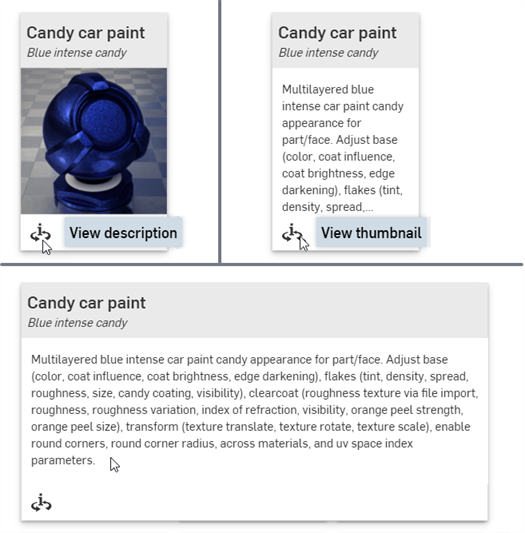
Only one Appearance card can be flipped to the back description at a time. Clicking a second Appearance's View description toggle simultaneously flips the first Appearance's description view to the front (thumbnail) and flips the second Appearance's view to the back (description).
See Render Studio Libraries for a complete list of all appearances and appearance functions.
See Appearance panel for an explanation of the default Appearance parameters.
For more information, see Appearances library.
Located at the bottom of the page, the Environments library contains all the standard environments that are added as the backdrop for the Part Studio, Assembly, and parts in the scene. An environment also provides scene illumination.

Search
Use the Search environments field to narrow the environment results in the library. Search only locates environments within the selected folder. For example, in the image above, the Artificial light folder is selected. Type a keyword into the Search environments field and press the Enter key. The search is limited to environments inside the Artificial light folder.
Use "and", "+", and "or" operators between words to further refine the search.
Once filtered, results appear as a thumbnail list on the right side of the Environments panel. To clear the search, delete the keyword(s) in the Search environments field and press the Enter key or press the clear field icon (![]() ).
).
Switching between the horizontal and vertical library views
Click the Show library in the right panel icon at the top right corner of the panel to show the library in the right panel:

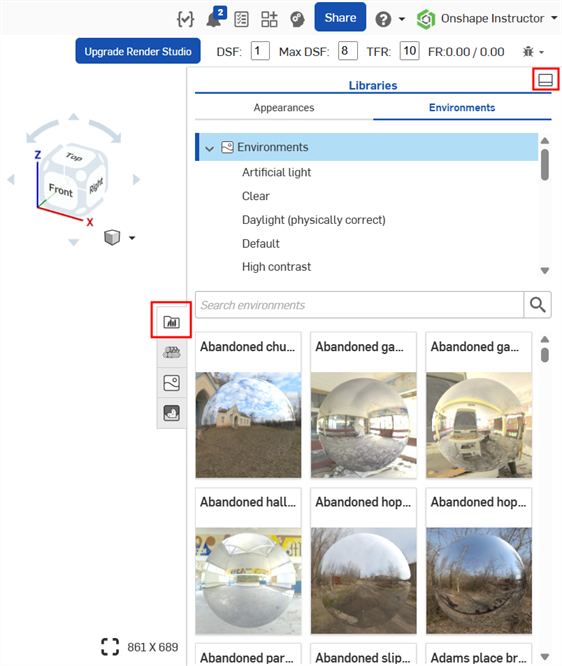
Click on the library panel icon (![]() ) to close the panel. Click it again to open it.
) to close the panel. Click it again to open it.
To place the library back in its default horizontal position, click the Show library in the bottom panel button located at the top right corner of the panel (highlighted in red in the above image).
Hide/Show libary
To hide/show the Libraries panel, click the expand/collapse toggle (![]() ) at the top right corner of the panel.
) at the top right corner of the panel.
View Environment name
If the entire name of the Environment is not visible, hover over the name and a tooltip reveals the complete name:
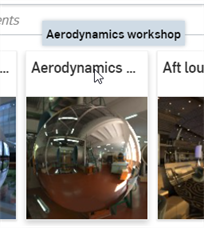
See Render Studio Libraries for a complete list of all environments.
For more information, see Environments library.
Located at the right of the page, the Scene panel displays an editable list of global parameters for the Scene list. Click the Scene panel icon (![]() ) to open the panel:
) to open the panel:
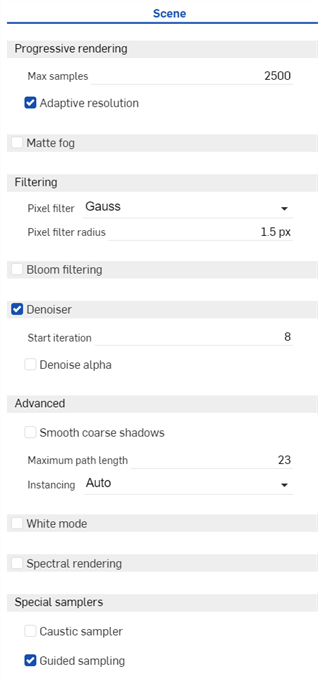
To adjust the Appearance/Selection panel width, hover the cursor over a panel edge. When the cursor turns into a double-sided arrow, click and drag to resize the panel.
For more information, see Scene panel.
Located at the right of the page, the Appearance panel displays an editable list of parameters for the appearance of the selected object. The Appearance is material-specific (for example, Fabric, Glass, or Masonry), and the available panel parameters change, depending on the selected Appearance.
-
Select an entity (part, face, Part Studio, Assembly, Render Studio, Appearance) in the Scene list or in the graphics area.
-
Click the Appearance panel icon (
 ) to open the panel:
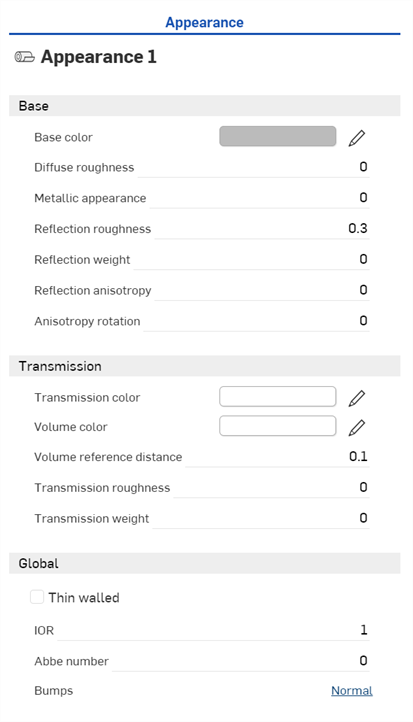
When a Part Studio or Assembly is inserted into a Render Studio, it has a base appearance. The name of the current Appearance is provided at the top of the panel (Appearance 1 in the above example).
For more information, see Appearance panel.
Located at the right of the page, the Environment panel displays an editable list of parameters for the scene environment. The available panel parameters change, depending on the selected Environment.
Click the Environment panel icon (![]() ) to open the panel:
) to open the panel:
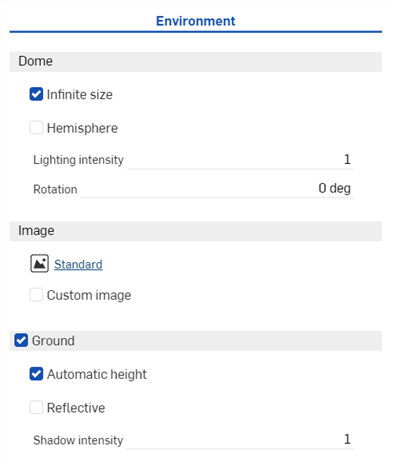
For more information, see Environment panel.
Render options determine how the scene is output to a JPEG or PNG image file. Once scene edits are completed, click the Render scene
button (![]() ) on the toolbar to open the Render options dialog:
) on the toolbar to open the Render options dialog:
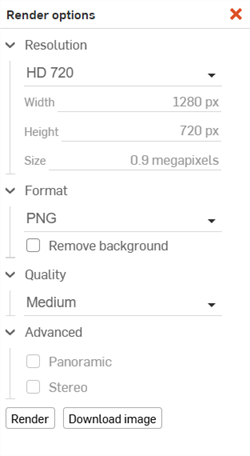
For more information, see Render options.
See Render Studio Examples and Resources for more information.