Render Studio Interface - Environments Library
![]()
Only available for
Located at the bottom of the page, the Environments library contains all the standard environments that are added as the backdrop for the Part Studio, Assembly, and parts in the scene. An environment also provides scene illumination.

Search
Use the Search environments field to narrow the environment results in the library. Search only locates environments within the selected folder. For example, in the image above, the Artificial light folder is selected. Type a keyword into the Search environments field and press the Enter key. The search is limited to environments inside the Artificial light folder.
Use "and", "+", and "or" operators between words to further refine the search.
Once filtered, results appear as a thumbnail list on the right side of the Environments panel. To clear the search, delete the keyword(s) in the Search environments field and press the Enter key or press the clear field icon (![]() ).
).
Switching between the horizontal and vertical library views
Click the Show library in the right panel icon at the top right corner of the panel to show the library in the right panel:

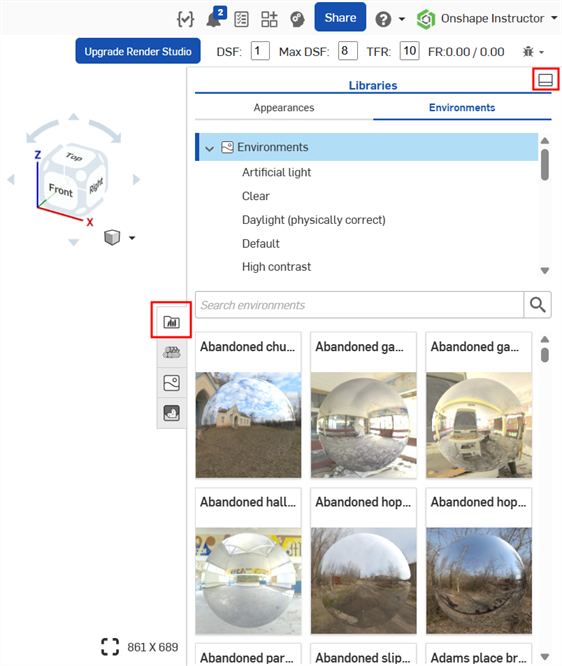
Click on the library panel icon (![]() ) to close the panel. Click it again to open it.
) to close the panel. Click it again to open it.
To place the library back in its default horizontal position, click the Show library in the bottom panel button located at the top right corner of the panel (highlighted in red in the above image).
Hide/Show libary
To hide/show the Libraries panel, click the expand/collapse toggle (![]() ) at the top right corner of the panel.
) at the top right corner of the panel.
View Environment name
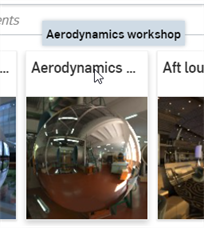
If the entire name of the Environment is not visible, hover over the name and a tooltip reveals the complete name:
See Render Studio Libraries for a complete list of all environments.
Tips
-
If the Environment is not visible, remove the background. Click the
 View tools icon in the graphics area, select Background, and then uncheck Enable background. Click x in the upper right corner to close the dialog.
-
To hide an environment from the scene, go View tools > Background. and check Enable background. You can additionally select an alternate solid color or image to use for the background.
-
If there is no light source in the scene and/or the scene is completely black, set the Lighting intensity attribute in the Environment panel higher. This value varies, depending on the settings established by the environment's creator. As a general rule, try a value between 50,000 and 100,000.
-
Each environment parameter in the Environment panel has an associated tooltip description. Hover the mouse over any parameter for a second to view this tooltip.
-
To adjust the Appearances/Environments Libraries panel height, hover the cursor over a panel edge. When the cursor turns into a double-sided arrow, click and drag to resize the panel.
-
Setting an environment background overrides the Dark mode theme setting for the graphics area.
-
When adding a custom Environment, use HDRI images for best quality.
To add an environment:
-
In the Environments library, select the environment to add to the scene.
-
Right-click and select Apply lighting from the context menu. This only applies environment lighting to the Part Studio or Assembly (the background is kept in place). Alternatively, select Apply lighting and background from the context menu. This removes the background and applies the lighting and environment to the scene:

Alternatively, drag and drop the Environment on an empty area of the scene.
Tips
-
If only lighting is applied, to remove the background later, click the View tools icon (
 ) in the graphics area, select Background, and then uncheck Enable background. Click x in the upper right corner to close the dialog. If the scene goes completely black, go into the Environment panel and increase the Lighting intensity value to between 15,000-20,000 or higher, depending on the environment image used.
-
If lighting and background is applied, the next time a new environment is applied via the context menu, the Apply lighting option is unavailable. It is only available if a background color is first applied to the scene via the View tools (
 ) > Background menu.
When a scene is created, the default environment (Standard) and background (white) is used. If a different environment is added, do the following to return to this default:
-
Select the Environments library, and ensure you are on the top level Environments folder.
-
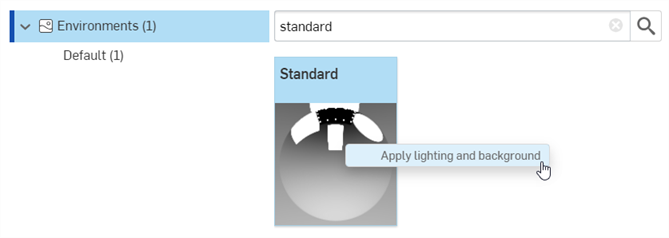
Enter Standard in the Search environments field and press Enter.
-
Right-click on the Standard thumbnail and select Apply lighting and background (or drag and drop the environment on the backdrop of the scene, not on a scene entity, such as a part):
The background color from the environment is used. To optionally revert to the original white background:
-
Click the View tools menu (
 ), and click Background.
-
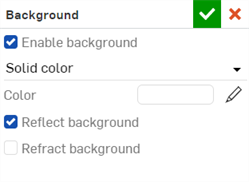
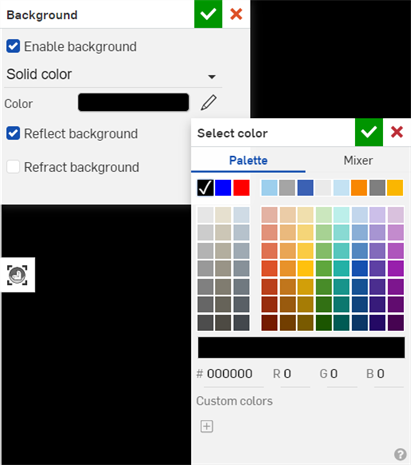
Select Enable background. By default, the color swatch is white (shown in the first image below). If the color is different, click the Edit color icon (
 ) to open the color palette (shown in the second image below). Enter a hex value of #FFFFFF for white (or select the color of your choice):
-
Click the checkmark icon (
 )
at the top right corner of the dialog to accept your changes and exit the dialog.
To add a custom environment to a scene:
-
To apply both the lighting and background of the custom image to your scene, click the View tools icon (
 ) in the graphics area, select Background, and then uncheck Enable background. Click the checkmark icon (
 ) to accept and close the dialog. Then follow the remaining steps below. If this step is not performed first, only the lighting from the custom environment image is applied to the scene.
-
Open the Environment panel (
 ).
).
-
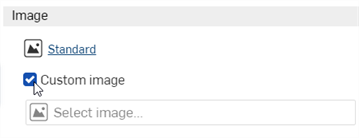
In the dialog, check Custom image:
-
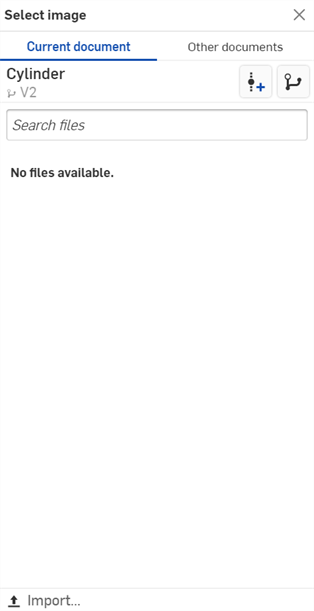
The Select image dialog opens where you can select an image file (.hdr or .exr). Do one of the following:
-
Select an image from the Current document
-
Click Other documents to locate an image in another Onshape document
-
Click the Import link at the bottom of the dialog to locate an image from your computer. When selected, click the Open button:
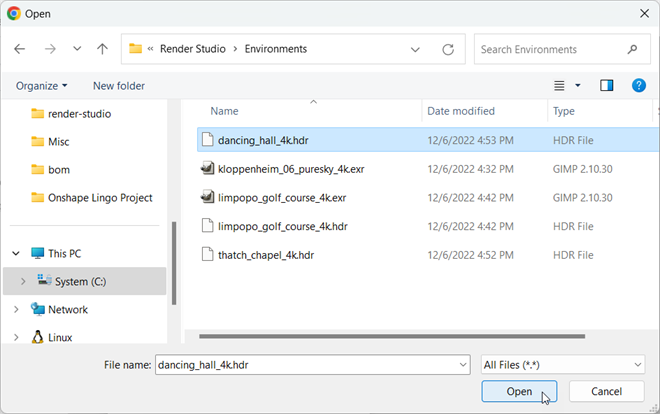
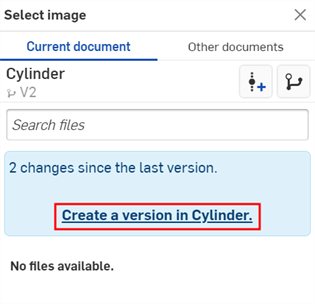
Once the notification indicates the upload is complete, you will not yet see the image in the Select image dialog. This is because the Render Studio scene is a snapshot of the part, Part Studio, or Assembly at the time of import, and this image is brought into the Onshape document post-import. A new version is now required, in order to update the scene. Click the Create a version in [Document name] link in the Select image dialog:
-
-
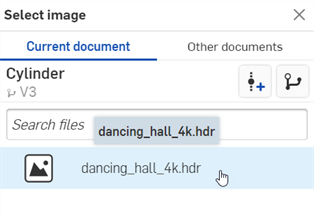
In the Select image dialog, click on the image to select it and have it loaded into the scene:
-
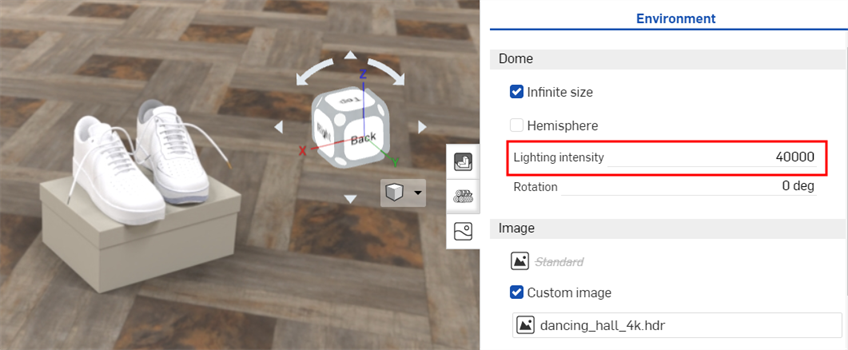
If the scene is too dark or black, in the Environment panel, increase the Lighting intensity value to between 15,000-20,000 or higher. This largely depends on the image used.
If you don't see the Create version link in the Select image dialog, click the Create version button (![]() ) on the Document panel to open the Create version dialog. Create the new version. Close and reopen the Select image dialog. The imported image should now be available.
) on the Document panel to open the Create version dialog. Create the new version. Close and reopen the Select image dialog. The imported image should now be available.
See Importing files for more information about uploading files.
Tips:
-
Though .jpg or .png files can be used, for best quality, use HDRI images (.hdr or .exr).
-
For a collection of free environments, visit https://polyhaven.com/hdris,
To add a custom background to a scene:
-
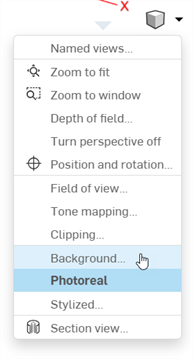
Select Background from the View tools dropdown menu:
-
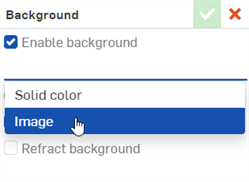
In the Background dialog, switch from Solid color to Image:
-
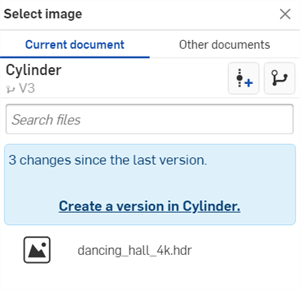
The Select image dialog opens where you can select an image file (.jpg or .png). Do one of the following:
-
Select an image from the Current document
-
Click Other documents to locate an image in another Onshape document
-
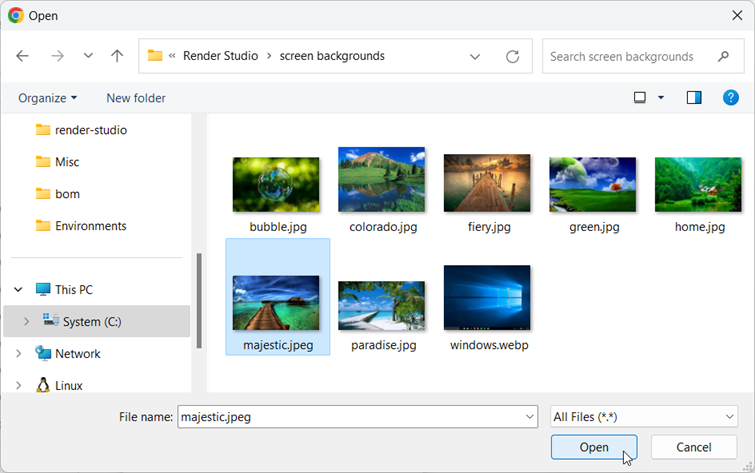
Click the Import link at the bottom of the dialog to locate an image from your computer. When selected, click the Open button:
Once the notification indicates the upload is complete, you will not yet see the image in the Select image dialog. This is because the Render Studio scene is a snapshot of the part, Part Studio, or Assembly at the time of import, and this image is brought into the Onshape document post-import. A new version is now required, in order to update the scene. Click the Create a version in [Document name] link in the Select image dialog:

-
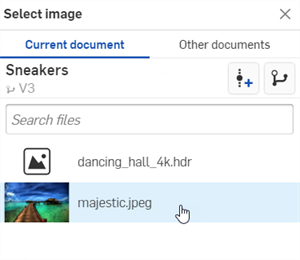
- In the Select image dialog, click on the image to select it and have it loaded into the scene:
-
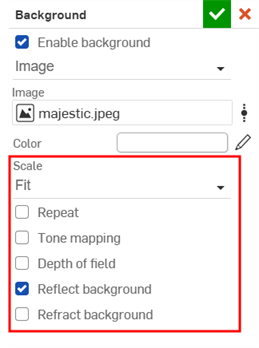
Select any additional options, such as the image Scale (Fill, Fit, or Stretch), Tone mapping, Depth of field, Reflect or Refract background:
If you don't see the Create version link in the Select image dialog, click the Create version button (![]() ) on the Document panel to open the Create version dialog. Create the new version. Close and reopen the Select image dialog. The imported image should now be available.
) on the Document panel to open the Create version dialog. Create the new version. Close and reopen the Select image dialog. The imported image should now be available.
See Importing files for more information about uploading files.
Tips:
-
Though .hdr or .exr files can be used, for best results, use .jpg or .png images.
Some environments use location and time to set the sun's location as a light source, which affects the scene's lighting and background. For example:
-
Select the Environments library, and ensure you are on the top level Environments folder.
-
Enter Preetham in the Search environments field and press Enter.
-
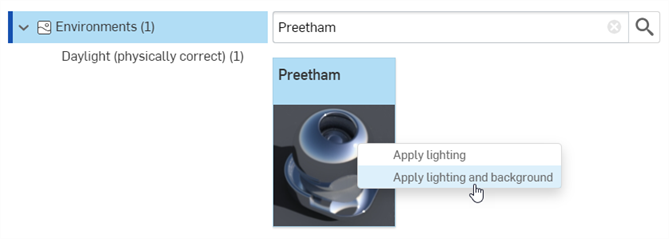
Right-click on the Preetham thumbnail and select Apply lighting and background (or drag and drop the environment on the backdrop of the scene, not on a scene entity, such as a part):
-
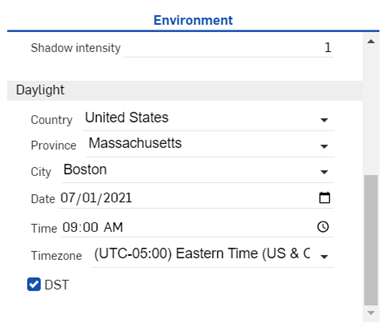
In the Environment panel the scene's location and time settings are located under the Daylight section at the bottom:
-
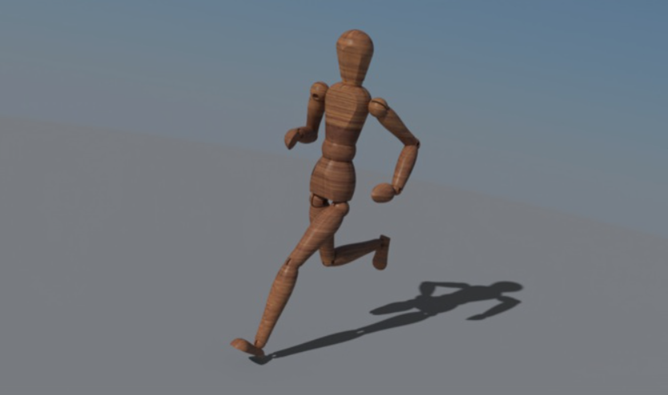
Select City: New York; Date: 07/01/2021; Time: 9:00 AM; and Timezone: UTC-05:00. The sun and shadows now line up for the selected location and time:
-
Switching to a new time on the same day, for example 4:30 PM, shows a sunset view, with lighting and shadows aligned to match:
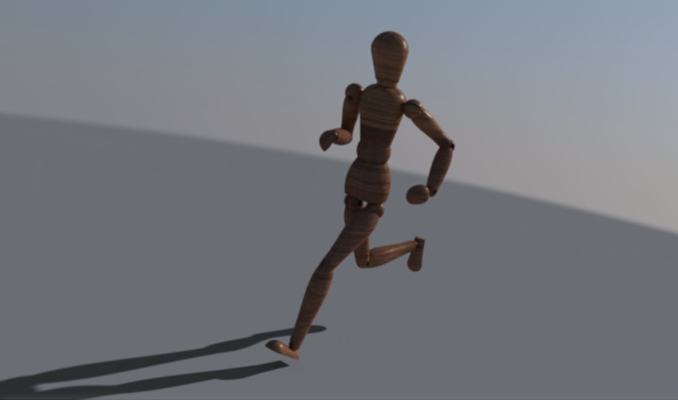
See Render Studio Examples and Resources for more information.
