Using the View Only Toolbar
![]()
![]()
![]()
The View Only toolbar is the default presentation for all users who do not have write permissions on a document.
Upon entering a document, a Light user or a user with View Only permissions will see this layout (note the View Only toolbar -for an Assembly- outlined in blue):
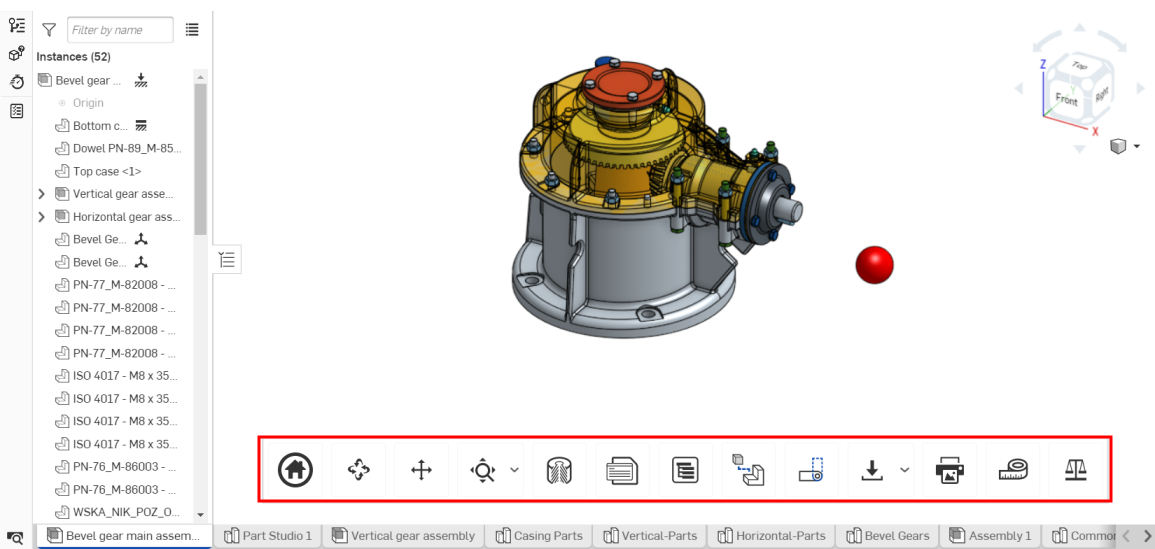
The View Only toolbar as seen on a browser, above
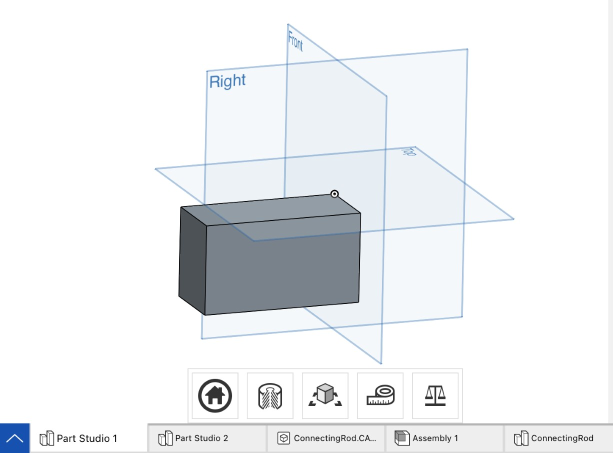
The View Only toolbar on an iPad of a user without Comment permissions, above
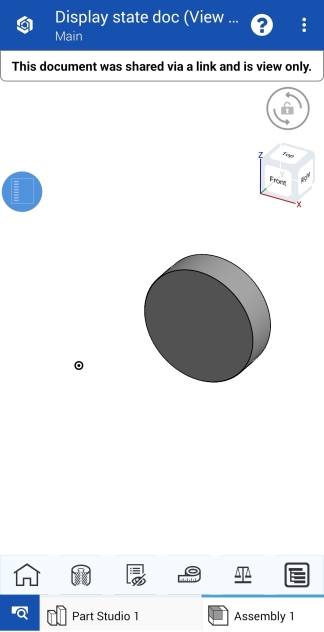
The View Only toolbar on an Android device of a user without Comment permissions, above
A good place for Light users to start understanding Onshape and their Onshape environment is Getting Started as a Light User.
A user in Enterprise or any other account type will have this toolbar as well, when shared with the View Only permissions. Only a company owner has the ability to change their company's settings to hide the View Only toolbar in all documents. Users with editing permissions on a document will not see the View Only toolbar.
In addition to the toolbar, you can also right-click on a sketch or part to access a menu of available commands like Show Dimensions, and other commands as well. Double-click on a feature in the Features list to see the settings and options used to create it.
The View Only toolbar is located at the bottom of your Onshape Part Studio or Assembly (shown above outlined in blue) and is able to have up to 18 tools or features, some of which depend on the tab type or the user's permissions:

Toolbar as typically seen in a Part Studio, above

Toolbar as typically seen on an iOS device, above

Toolbar as typically seen on an Android device, above

Toolbar as typically seen in an Assembly, above
- Home -
 Click the Home icon to automatically restore the initial view of your document.
 - Rotate -
 Click the Rotate icon, then click and drag your cursor in the direction you want your document to rotate.
 - Pan -
 Click the Pan icon, then click and drag your cursor in the direction you want to pan your document.
 - Zoom to fit -
 Click the Zoom to fit icon to automatically zoom your image to fit the middle of the screen. Click the dropdown menu arrow to the right of the icon to see the following features:
- Zoom to window -
 Click Zoom to window, then drag your cursor to create your zoom bounding box around the part of the entity you wish to zoom in on; your image zooms accordingly
 - Zoom -
 Click Zoom, then click and drag your cursor up and down or left and right to zoom in and out.
While using the Onshape application on a desktop, you can scroll up or down with your mouse at any time to zoom in or out.
On Windows machines with a standard 3-button mouse, Onshape provides the following scheme for manipulating the 3D model in Part Studios and Assemblies:
3D Rotate: Right-mouse-button-click+drag
Zoom in and out: Scroll up and scroll down, respectively
2D pan: Ctrl+right-mouse-button+drag (middle button click+drag)
For more information on customizing your view manipulation in Onshape, see View Navigation and Viewing Parts.
- Zoom to window -
-
Section view -
 Click the Section view icon to open the Section view manipulator:
Select the plane, planar face, or mate connector that you want to view, then click the checkmark
 in the top right corner of the Section view manipulator to finalize your decision.
 - Properties -
 When you are in a Part Studio, click the Properties icon to open a Properties dialog where you will have the ability to edit your Part Studio's name, description, part number, state, and more:
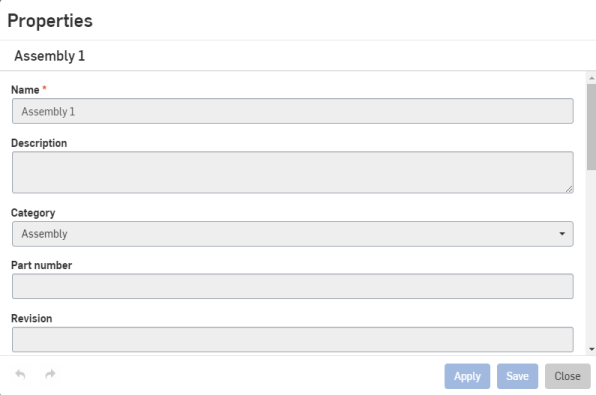
To see the properties of a specific part on an entity, click the specific part and then click the Properties icon.
In an Assembly, click the Properties icon to open a Properties dialog.
Light users and full users who lack write permissions do not have the ability to edit properties.
-
Appearance panel -
 This tool appears only when a Part Studio tab is selected. Click to open the Appearance panel from the right side of the UI.
You can see the color associated with a particular part or face. For more information about assigning colors, see Customizing Parts and Faces: Appearance.
-
Display states -
 This tool appears only when an Assembly is selected. Click to open the Display states dialog. See Display States for more information.
 -
Cut list -
 This tool appears only when a Part Studio tab is selected and Frames are used. Click to open the Cut list panel from the right side of the UI. See Cut List for more information.
 -
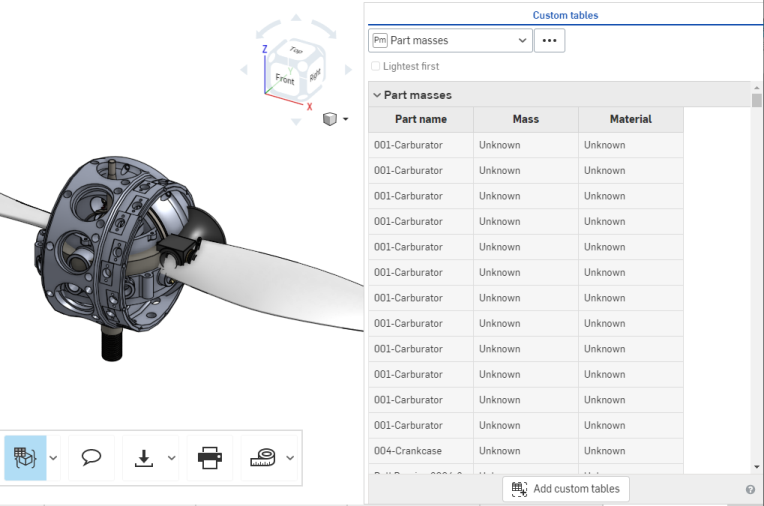
Custom tables -
 This tool appears only when a Part Studio tab is selected. Click to open the Custom tables panel from the right side of the UI. If a custom table has been added to the document, it opens:
- Configuration panel -
 Click the Configuration table icon to open the Configured part properties panel (note that this icon appears only when your assembly or Part Studio contains configured properties):
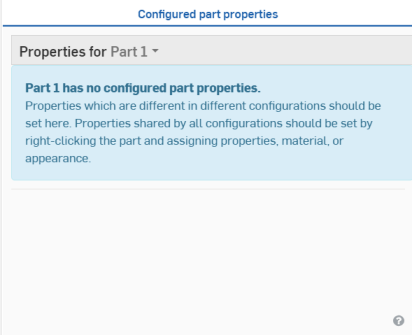
To learn more about the Configuration panel, see Configurations.
- Bill of Materials -
 Click the BOM icon to open the BOM panel, or close the BOM panel.
 - Exploded views -
 Click the Exploded views icon to open the panel in order to select an Exploded view to display.
This tool only appears when an Assembly is selected.
-
Follow a user... -
 Click the Follow a user icon to open a menu with a list of users that are currently in the document (note that this icon only appears if there are multiple users in a document):
Click a user you wish to follow, and your Onshape window will adjust to show you their document view in real time, as shown below:
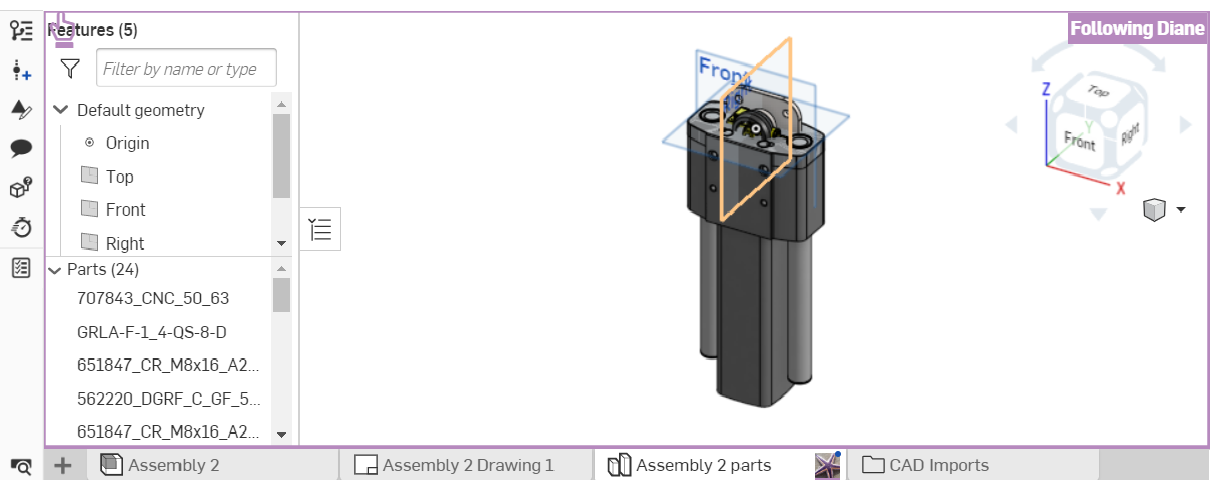
To stop following a user, re-click the Follow a user icon in the toolbar. To learn more about following a user, see Follow Mode.
- Export tab -
 Click the Export icon to open the Export dialog. Here, you can edit your document's name and export options.
- Export selected -
 Click the Export selected icon to export all selected geometry (note that this icon appears only when exportable geometry is already selected). An Export dialog like the one above appears; edit your file name, format, version, and export options, and click the Export button to finalize your decisions.
 - Select and export... -
 To export a specific assembly or part, click the dropdown menu arrow to the right of the Export icon and click Select and export...(note that this icon only appears if there no exportable geometry is selected). This opens an Export manipulator; click the part or assembly you want to export, then click the checkmark
  in the top right corner. This opens the same Export dialog as shown above. Choose your export settings and click the Export button to finalize your decisions.
- Export selected -
-
Print -
 Click the Print icon to open the Print setup dialog:
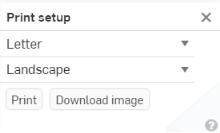
Here, you have the ability to edit your print settings. When you are ready to print, click the checkmark
 in the top right corner. This opens a print-preview of your document, with options to choose more printer-specific settings.
 -
Measure -
 Hold your cursor over the Measure icon to read how the Measure tool functions:
The above message explains how the Measure tool is automatically shown in the lower right corner of the Onshape window whenever an entity or part is selected. Click on the Measure icon to see an animated example of the tool's functionality.
-
Mass Properties -
 Click the Mass properties icon to open the Mass properties panel:
In a Part Studio, if there are no parts selected, the Mass properties panel displays the Part Studio properties. If there are parts selected, it displays only the properties for those selected parts.
Users with release management responsibilities
When a user has release management responsibilities, (Enterprise or Professional users only), they may be responsible for approving a release candidate. There is no Light user tool on the toolbar for this purpose, however, the user must access the release candidate through the notification they received, which may be:
- Email notification with a link
- Internal notification in the document
- Mobile notification with a link
These notifications will contain a View release link that when clicked takes the user directly to the release candidate dialog.