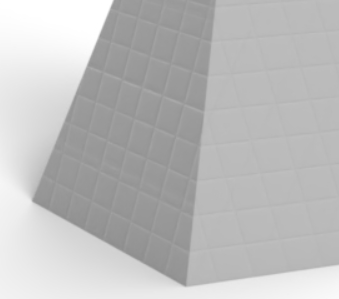
Textures and Bump Maps

Only available for
Available in: Render Studio
Apply textures and bump maps to a part's appearance parameters to control the surface detail of the part. See Render Studio Interface - Appearances Library for more information about the Appearances library.
 Adding a texture
Apply a texture to one of the part's appearance parameters. This procedure explains how to apply a texture to the part's Diffuse roughness parameter.
-
In the Scene list or graphics area, select the part.
-
Expand the Base submenu in the Appearance panel, if it is not already expanded.
-
In the Appearances library, select the Appearance functions folder.
-
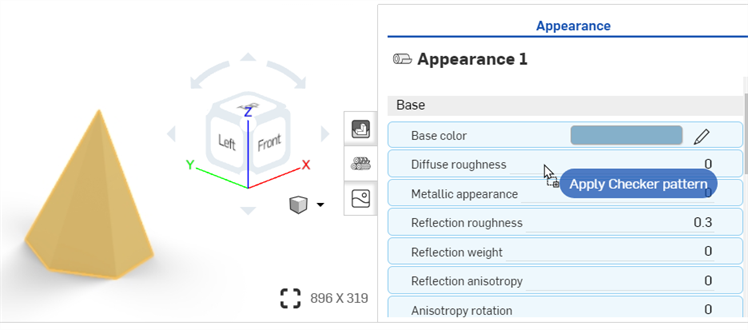
Locate the Checker pattern function, then click and drag it from the Appearances library and drop it on top of the Base submenu's Diffuse roughness parameter in the Appearance panel on the right.
-
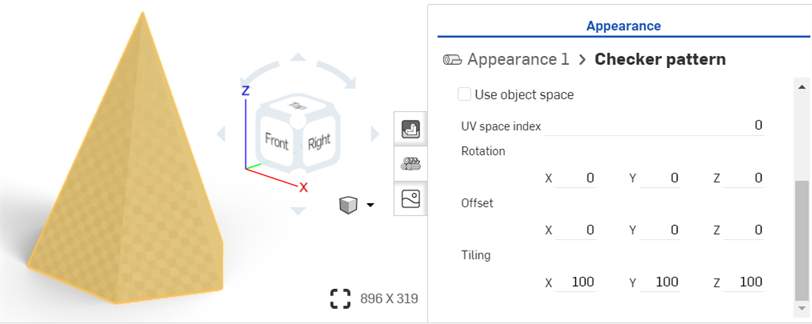
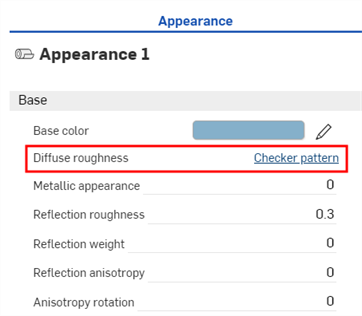
The texture is applied and automatically opens in the Appearances panel. This is verified by the hierarchical breadcrumb trail at the top of the Appearance panel. Adjust the Checker pattern's parameters to different specifications using the submenus in the Appearance panel:
-
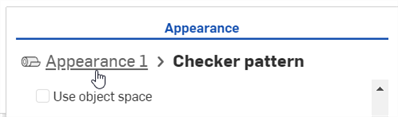
Click the Appearance 1 breadcrumb link at the top of the Appearances panel (shown in the first image below) to return to the part's Appearance panel. To edit the texture again, click its link next to the Diffuse roughness parameter (shown in the second image below):
Before dropping the texture, notice that many of the Appearance parameters are highlighted in blue. This indicates the texture can be applied to any of these parameters. Drop the thumbnail on the parameter of choice. See Using Appearance functions for more information.
Adding a custom image as a texture
This procedure explains how to apply a custom image (PNG or JPG, for example) as a texture to a face or part appearance's Base color parameter. You can, however, modify this procedure to apply the texture to a number of other appearance parameters, as required.
An alternative way to apply a custom image as a texture is to use the appearance parameter's context menu in the Appearance panel. See Applying a texture to a parameter.
-
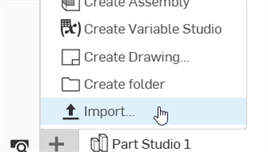
If your texture image is not already imported into your document, click the Insert new tab icon (
 ) and select Import:
-
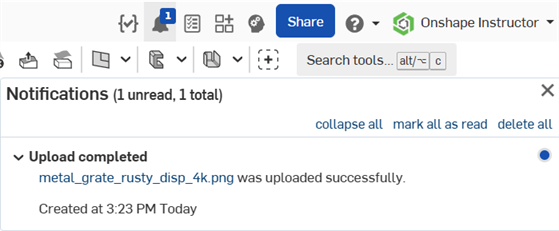
You will receive a notification when the file is imported:
-
In the Scene list or graphics area, select the faces and/or part.
-
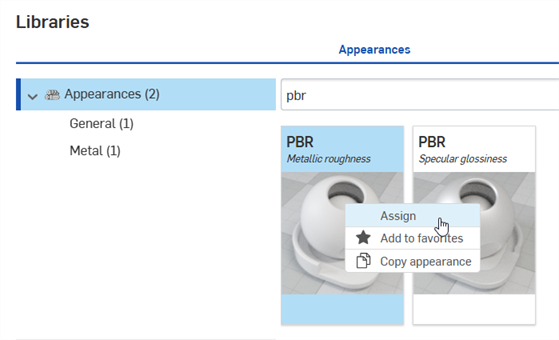
Locate the PBR - Metallic roughness appearance in the library. Right-click on it and select Assign from the context menu:
-
From the Appearance panel, set some basic parameters on the appearance, such as Metallic, Brightness, Opacity, and more, to your requirements.
-
Locate, then drag and drop the Import bitmap file - Bitmap texture function on the Base color parameter of the PBR - Metallic roughness appearance in the Appearance panel:
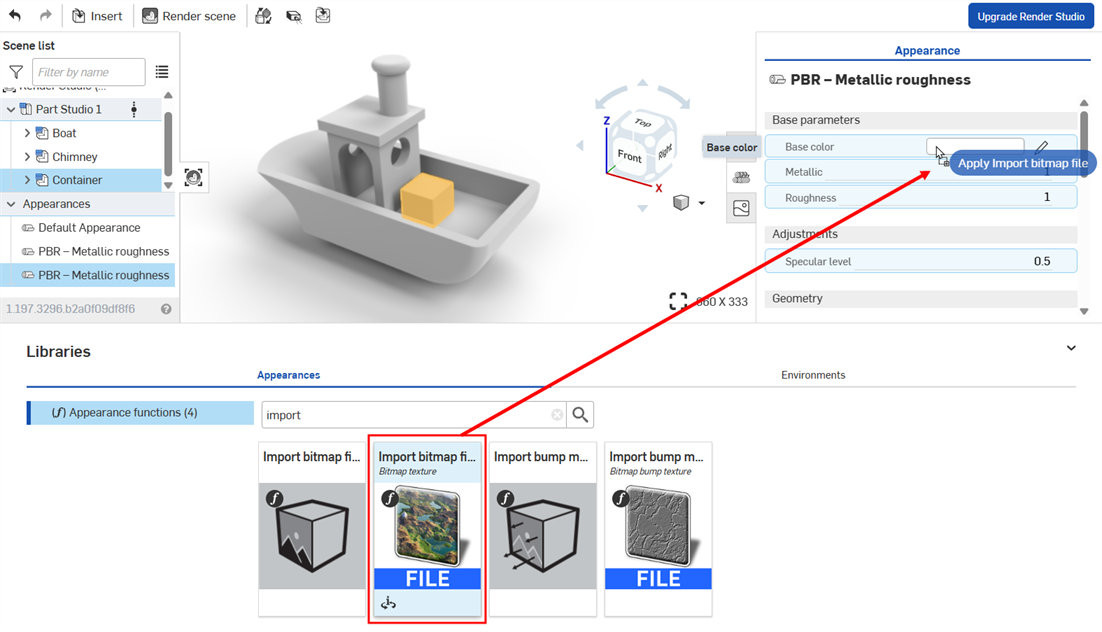
Before dropping the texture, notice that many of the Appearance parameters are highlighted in blue. This indicates the texture can be applied to any of these parameters. Drop the thumbnail on the parameter of choice. See Using Appearance functions for more information.
Alternatively, right-click on the parameter and select Use bitmap file, then select the file you imported to apply it to the parameter:
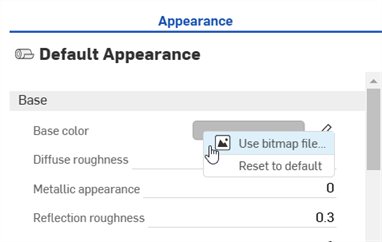
-
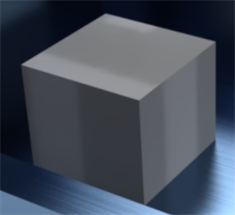
Click the default black.png Bitmap file and select the texture image you imported into your document earlier (shown in the first image below). The texture is applied to the selected faces and/or part (shown in the second image below):
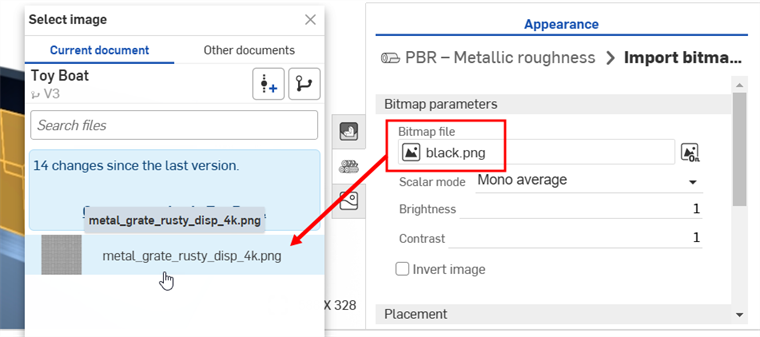
If you import the texture after you have already created the Render Studio tab, you will need to create a version of your document in order to access the Texture from the Select image dialog.
-
Modify the Rotation, Offset, and Tiling of the texture on the image to your specifications.
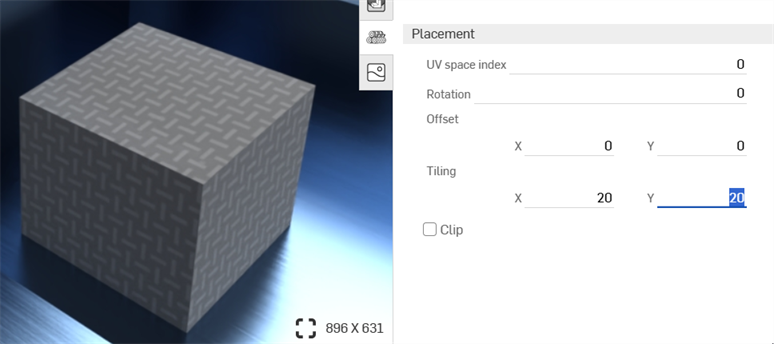
Setting the Tiling to x: 20; Y: 20
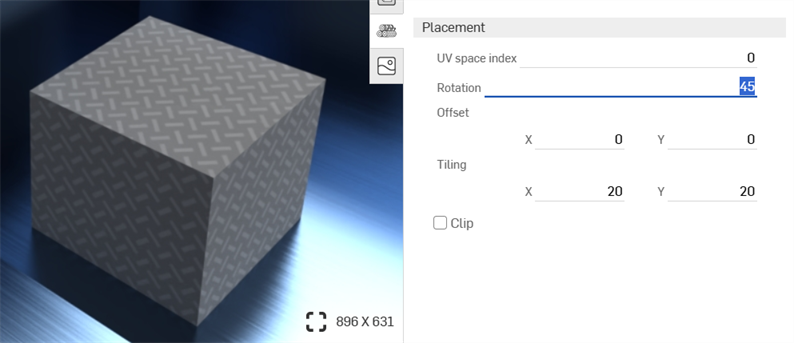
Setting the Rotation to 45 degrees
-
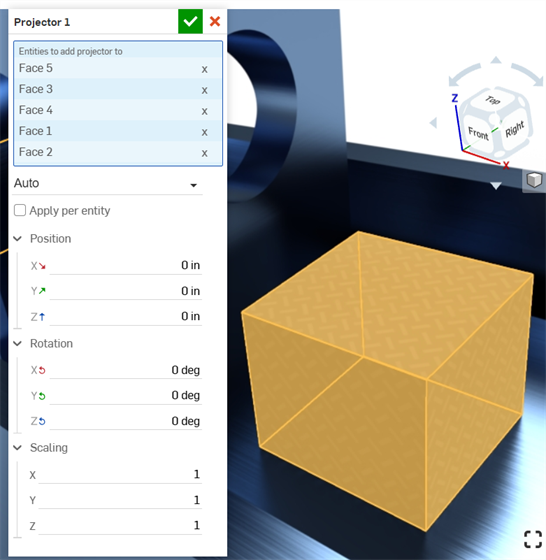
Click the Projector icon (
 ) on the toolbar to open the Projector dialog.
-
In the Entities to add projector to, select the faces and/or part to which you applied the texture.
-
Select the Position, Rotation, and Scaling options to your specifications.
Adding a bump texture
A bump texture (or bump map) simulates a part's surface texture. Normal maps are a specific type of texture where bump details (wrinkles, grooves, patterned divots, and the like) are added to the model. When light is reflected off the surface, real geometry is simulated.
A bump texture is not applied directly to the part. It is applied to the part appearance's Bumps parameter.
-
Select the part in the Scene list or graphics area.
-
Expand the Global submenu in the Appearance panel, if it is not already expanded.
-
In the Appearances library, select the Appearance functions folder.
-
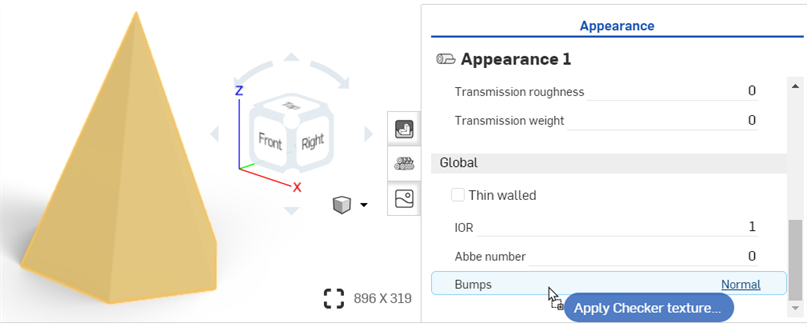
Locate the Checker texture bump map function, then click and drag it from the Appearances library and drop it on top of the Bumps parameter in the Appearance panel on the right.
-
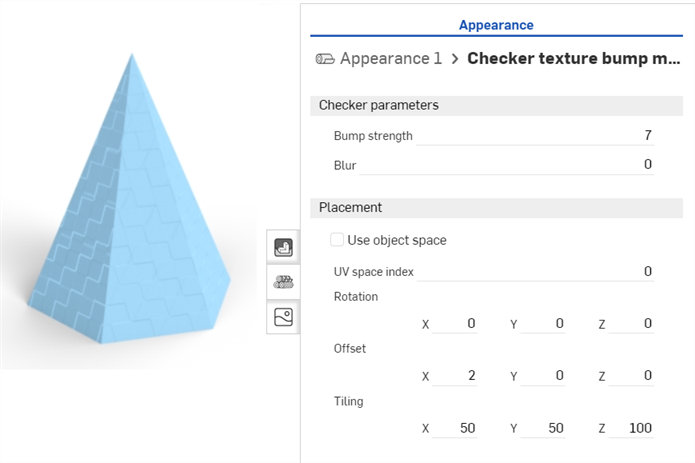
Once applied, adjust the bump texture parameters using the Appearance 1 > Checker texture bump map panel submenus:
-
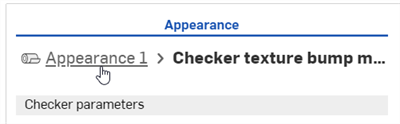
Click the Appearance breadcrumb link at the top of the Appearance panel (shown in the first image below) to return to the part's Appearance panel. To edit the bump texture again, locate it in the Global submenu and click on its link (shown in the second image below):
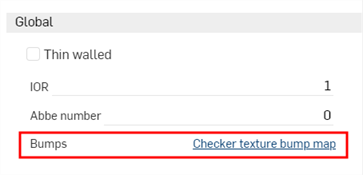
Before dropping the bump texture, notice that only the Bumps parameter is highlighted in blue. This indicates the bump texture can only be applied to this parameter. See Using Appearance functions for more information.
Adding a custom bump texture
A bump texture (or bump map) simulates a part's surface texture. Normal maps are a specific type of texture where bump details (wrinkles, grooves, patterned divots, and the like) are added to the model. When light is reflected off the surface, real geometry is simulated.
A bump texture is not applied directly to the part. It is applied to the part appearance's Bumps parameter.
-
Select the part in the Scene list or graphics area.
-
Expand the Global submenu in the Appearance panel, if it is not already expanded.
-
In the Appearances library, select the Appearance functions folder.
-
Locate the Import bump map file function, then drag and drop it on top of the Bumps attribute on the Global submenu.
-
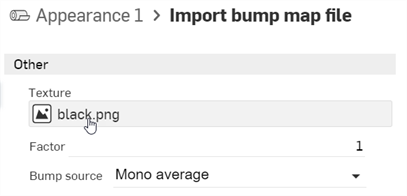
In the Appearance panel, click the Bitmap file (black.png). This opens the Select image dialog:
-
Do one of the following:
-
Select a bump map file from the Current document
-
Click Other documents to locate a file in another Onshape document
-
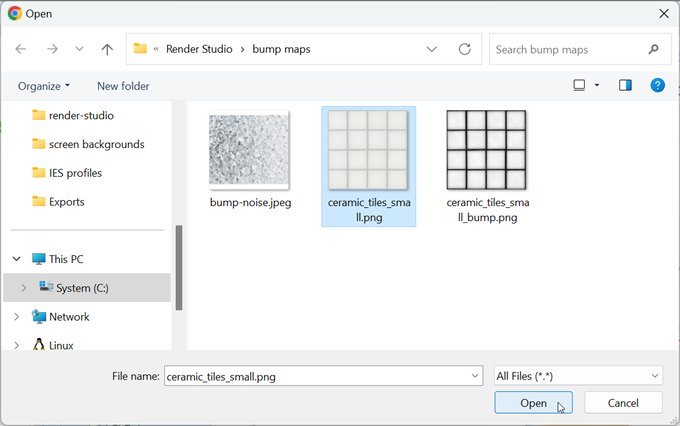
Click the Import link at the bottom of the dialog to locate a bump map file (.jpg or .png) from your computer. When selected, click the Open button:
Once the notification indicates the upload is complete, you will not yet see the image in the Select image dialog. This is because the Render Studio scene is a snapshot of the part, Part Studio, or Assembly at the time of import, and this image is brought into the Onshape document post-import. A new version is now required, in order to update the scene. Click the Create a version in [Document name] link in the Select image dialog:
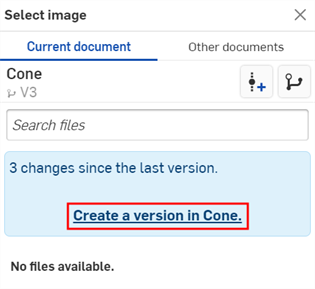
The Create version dialog opens. Enter the version information and click the Create button.
-
-
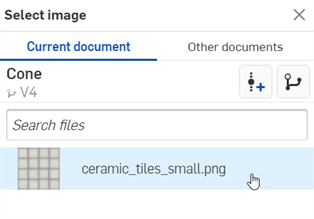
Once the new version is created, the .ies file is located in the Select light profile. Click it to select it:
-
Once selected, the file is loaded into the Bitmap file field. Use the Bitmap and Placement submenus to edit the bump texture parameters:
-
Tiling - Control the scale of the texture on the part. Larger numbers reduce the texture size (more tiles), while lower numbers increase the size of the texture (fewer tiles).
-
Clip - If enabled, the texture does not repeat and anything outside the texture shows as flat.
-
Offset - Control the position of the texture on the part
-
Rotation - Control the rotation of the texture on the part, in degrees.
-
Bump mode - Define how the texture is evaluated to create the bumps.
-
Bump strength - Control the intensity of the Bump map tiling.
Alternatively, use the Import bitmap file function (shown in the red box below) for more complex texture editing capabilities. Complex graphs of texture placement functions are connected to file_texture maps.
Before dropping the bump texture, notice that only the Bumps parameter is highlighted in blue. This indicates the bump texture can only be applied to this parameter. See Using Appearance functions for more information.
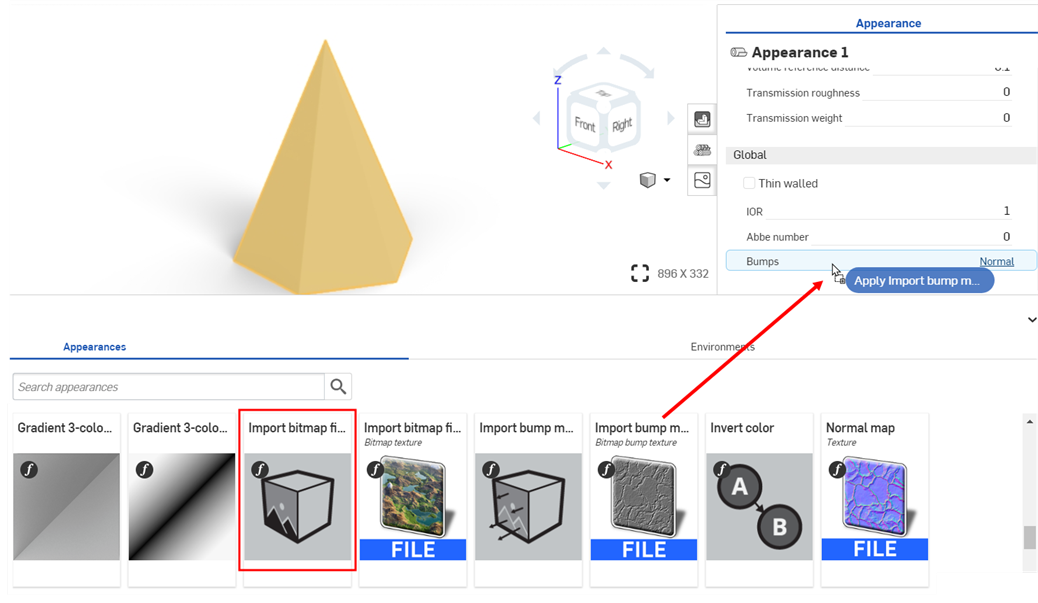
If you don't see the Create version link in the Select image dialog, click the Create version button ( ) on the Document panel to open the Create version dialog. Create the new version. Close and reopen the Select image dialog. The imported image should now be available.
See Importing files for more information about uploading files.