Selection
![]()
![]()
![]()
Select parts or planes.
Onshape selection works like a toggle. Click to select, click again to deselect. You are also able to click to additively select and deselect (the same behavior you would expect from Ctrl+click).
Specifically:
- To select an entity, click on it. To deselect, click it again.
The cursor displays a count of selected entities; the displayed cursor count is accurate up to 5 entities (after 5, the cursor maxes out at 5+).
- Clicking additional entities adds them to the selection set.
- Clear selections by clicking in empty space, pressing the Space bar, or by choosing Clear selections from the context menu.
- Select a range of objects (like names in a Feature list) by clicking one end of the range and Shift+click the other end.
- To select a tool in the toolbar, click on it. To deselect, click it again, or use the context menu and select Exit <tool name>, or press the ESC key.
Selection may be made with the cursor on a specific sketch or part entity (sketch curve or part edge, for example) and also by dragging a selection box around or across entities. Selected entities in the graphics area are highlighted. To deselect all selected entities, click in the white space in the graphics area, access the context menu and select Clear selection. You can also press CTRL + drag your mouse across entities to deselect them.
When not creating or editing a sketch or feature, you are able to hover over sketch entities and model edges and visualize the midpoints:

Hovering to see a midpoint in a sketch

Hovering to see a midpoint on a model edge
Use these midpoints for:
- Measuring
- Select two points to get measurement information in the Measure tool in the right bottom corner of the interface:
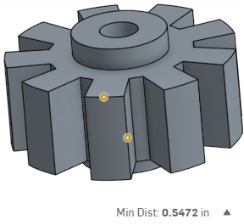
- Creating planes
- Select midpoints as points to define planes:
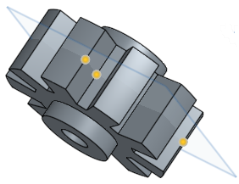
- Use in a sketch
- Select the midpoint (of a sketch entity not in the active sketch), then the Use tool in the Sketch toolbar to use that point in your sketch:
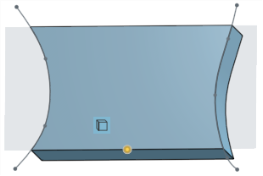
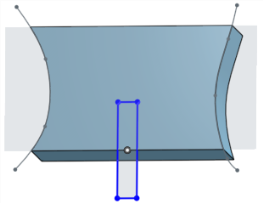
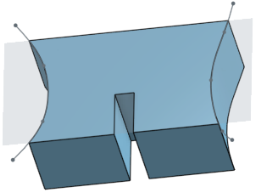
Midpoints do not appear for entities not in the active sketch. When creating or editing a sketch, you may select the midpoint of an entity in another (inactive) sketch and use the Use tool to incorporate that point in the active sketch.
- Sketch curve highlighted
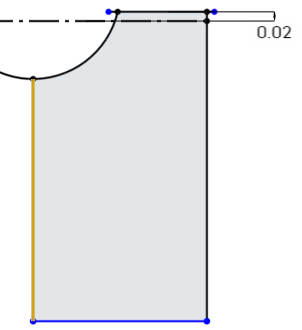
- Region highlighted

- Face highlighted
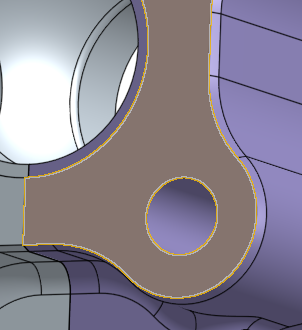
- Edge highlighted
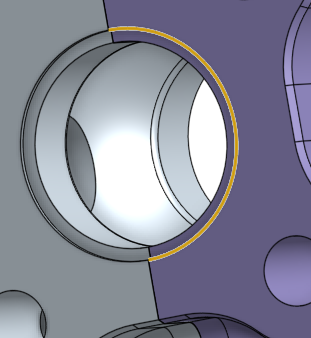
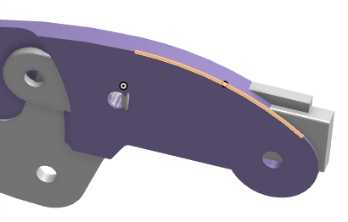
Drag left-to-right to select the entities that fall entirely within the box (indicated by solid blue outline and blue-shaded selection box):
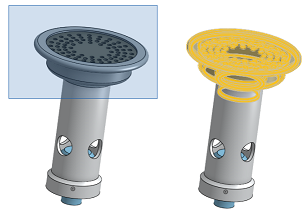
Notice that despite the selection box having crossed the cylindrical shaft, it was not selected (above).
Drag right-to-left to select the entities that the box touches (indicated by dotted yellow outline and yellow-shaded selection box):
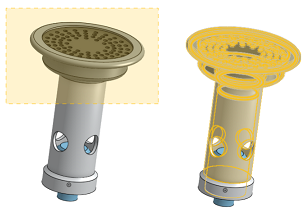
Notice that this time when the selection box crossed the cylindrical shaft, it was selected (above).
Press CTRL + drag your mouse across entities to deselect them.
This functionality is available in both Part Studios and in Assemblies.
![]()
Graphics area
Onshape selection works like a toggle. Tap to select, tap again to deselect. Double tap (tap twice, quickly, with one finger) to deselect all.
Specifically:
- To select an entity, tap on it. To deselect it, tap on it again.
- Clear selections by choosing Clear selection from the Context Menu or by double tapping anywhere in the graphics area.
- To select a tool, tap on it. To deselect a tool, tap on it again or tap the x in the dialog box.
Box Select
Two finger press and hold to bring up the box for box select.
Before picking up your fingers from the screen, use a pinch gesture to adjust the size of the box.
After picking up your fingers from the screen, touch and drag a corner of the box to adjust the size.
Touch and drag the box with one finger to adjust its position, but not its size.
Along the bottom of the screen there are four icons:
![]() Cancel
- Tap to cancel box selection
Cancel
- Tap to cancel box selection
![]() Inside box
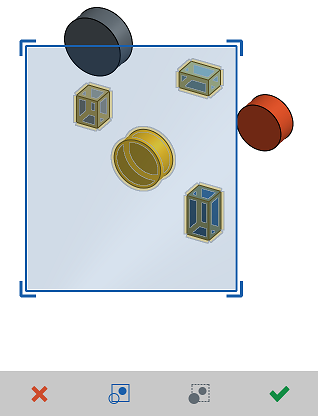
- Tap to limit the selection to only the entities that are entirely inside the box. In the image below, notice that the cylinder that is not entirely within the box is not selected:
Inside box
- Tap to limit the selection to only the entities that are entirely inside the box. In the image below, notice that the cylinder that is not entirely within the box is not selected:
![]() Crossed by box
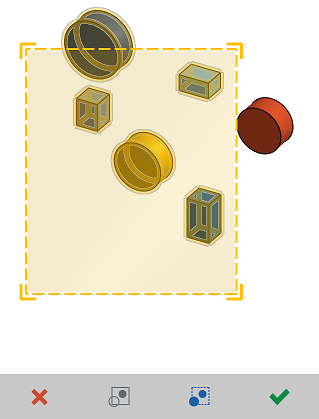
- Tap to select any entity that is at least partially inside the box. In the image below, notice that the cylinder at the top of the box that is only partially inside the box is selected along with the other parts:
Crossed by box
- Tap to select any entity that is at least partially inside the box. In the image below, notice that the cylinder at the top of the box that is only partially inside the box is selected along with the other parts:
![]() Confirm
- Tap to confirm the box selection.
Confirm
- Tap to confirm the box selection.
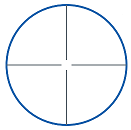
Using a finger as a cursor often obstructs one's view and makes it difficult to make precise selections. To help with this, Onshape provides the Precision selector to allow you to carefully select an entity without your finger obstructing your view.
The orange markings below represent a screen touch.
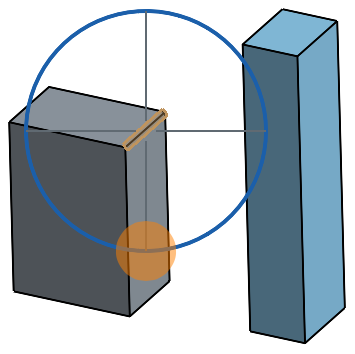
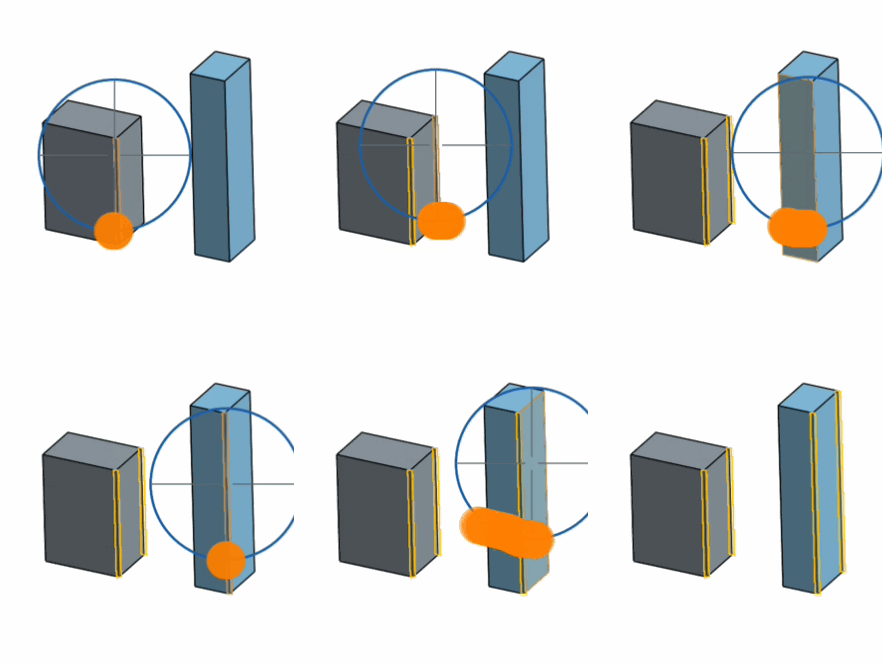
To use the Precision selector, touch and hold with one finger in the graphics area. When the Precision selector appears, drag your finger to move the selector. Use the crosshairs as a cursor. When the crosshairs line up with the desired selection and the desired entity is highlighted, lift your finger from the screen to make the selection. If you do not want to use the Precision selector, make sure that the crosshairs are not lined up with an entity, then lift your finger and start over.
Precision selector with stylus
While using the stylus to precision select, press harder to temporarily zoom. Once you release to make a selection, the zoom returns to normal:
