Importing a Lidar Scan
![]()
Lidar Scan is available within an Onshape document only on iPhones/iPads that have the physical Lidar Scanner in the device (models that were created since 2020):
-
iPhone 12 Pro/12 Pro Max
-
iPhone 13 Pro/13 Pro Max
-
iPad Pro 11”/12.9”
Initiate a Scan
To import a Lidar scan from inside an Onshape document
-
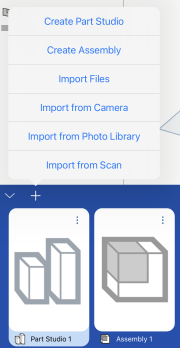
Use the Plus menu and select Import from Scan to begin scanning using Lidar:
-
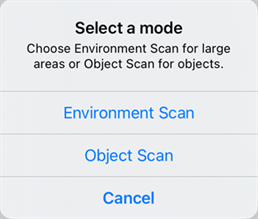
The Select a mode dialog opens. Select either:
-
Environment Scan - Scan the surrounding environment.
-
Object Scan - Scan a specific object.
-
Environment Scan
-
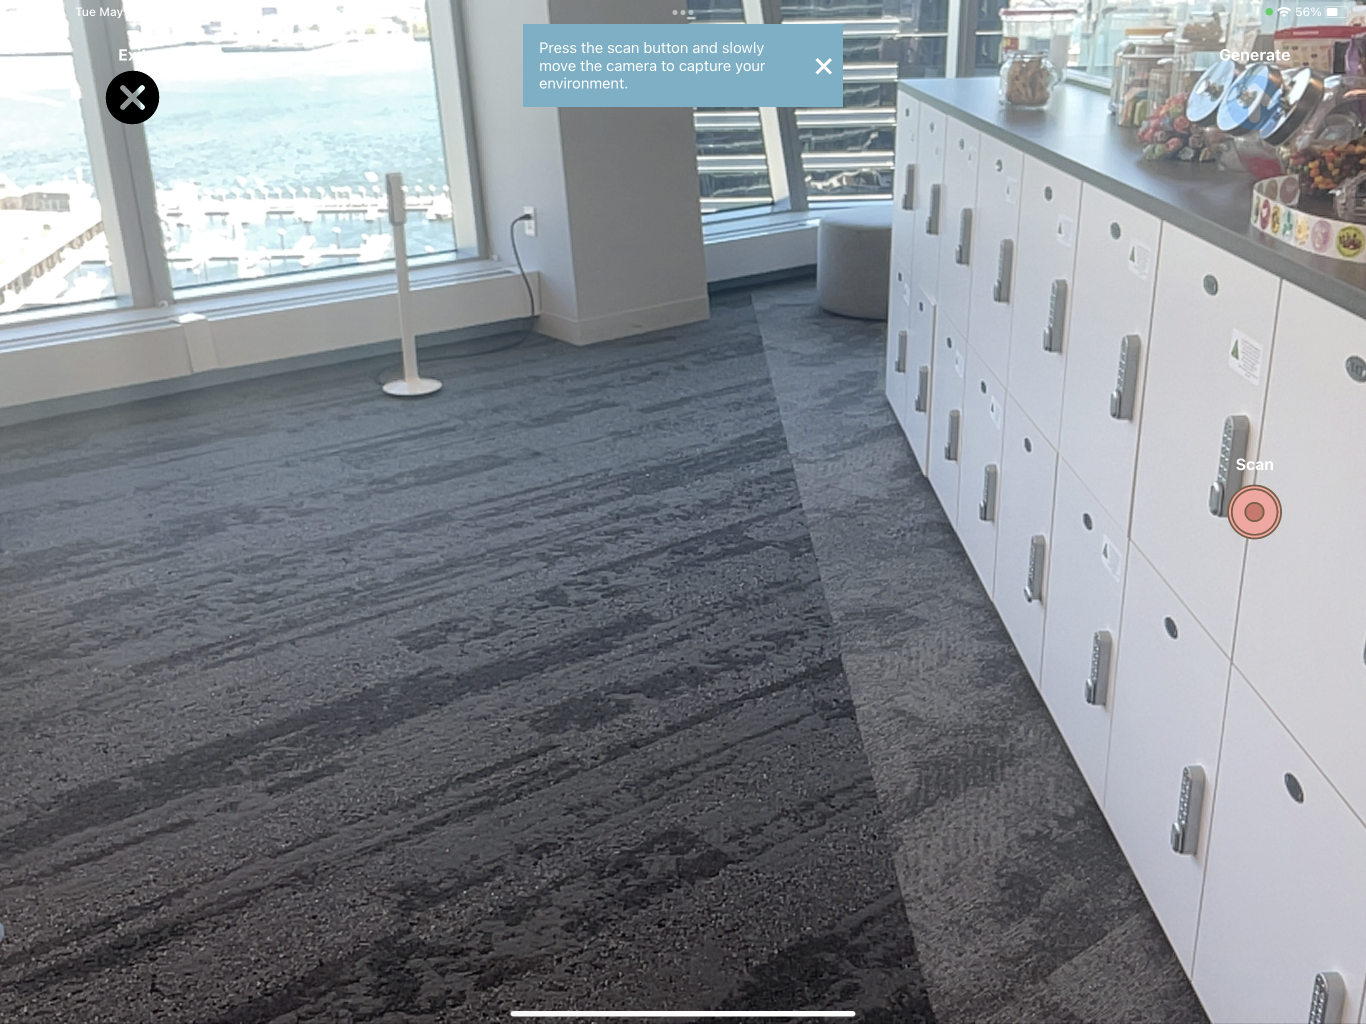
Tap the Environment Scan button to collect data:
-
Move your device slowly around the area or object you are scanning. Moving slowly and scanning as many angles as possible allows more data collection and results in a more robust scan.
Once enough data has been collected, a notification appears stating you can now generate the GLB file.
-
Tap Stop when finished scanning. The Generate Import message appears:

If insufficient data is collected, a message appears.
If sufficient data is collected, a notification that the scan is ready for import appears. -
Tap the Generate button to process the scan and upload it (import it) into the Onshape document.
Once the import is complete, a tab is created within the document for the GLB file (in the CAD Imports folder) and a Part Studio tab is created called 'Scan' to hold the mesh data.
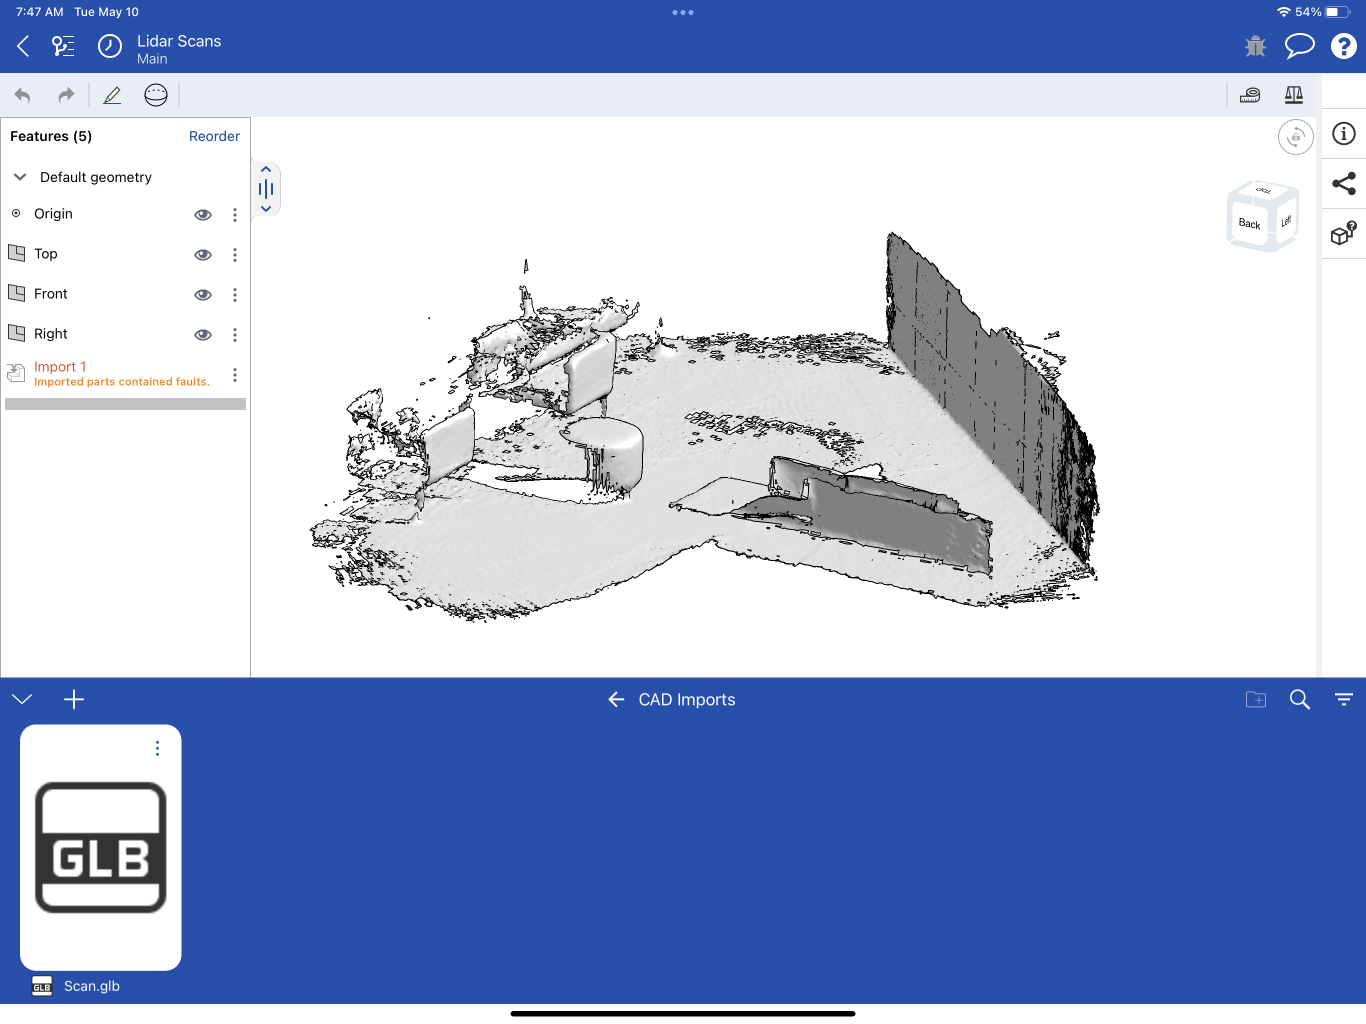
The Part Studio contains an Import feature in the Feature list and a mesh Composite part in the Composite parts list.

You can now use the mesh data to continue designing via mixed modeling.
Object Scan
-
Tap the Object Scan button:
-
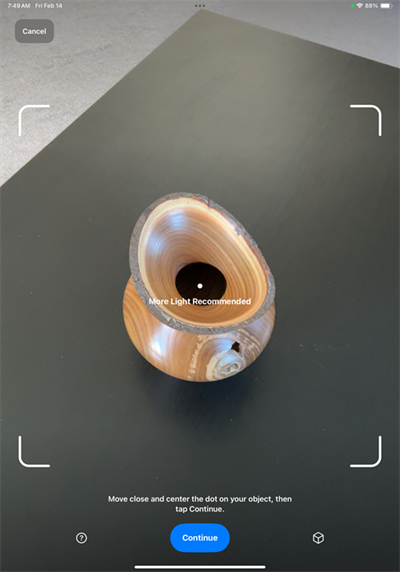
Place the dot at the center point of the object you wish to scan, move closer or farther, depending on feedback. Then click the Continue button:
-
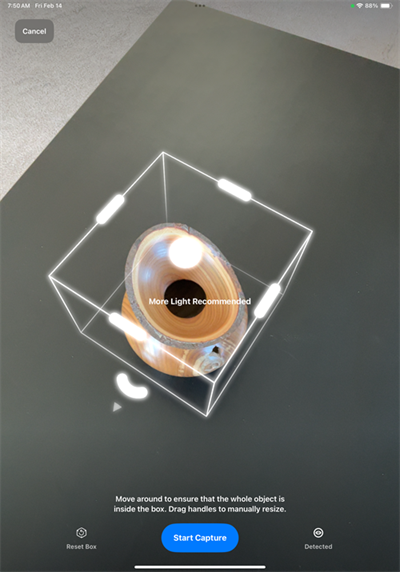
When the bounding box is placed around the object, click the Start Capture button.
-
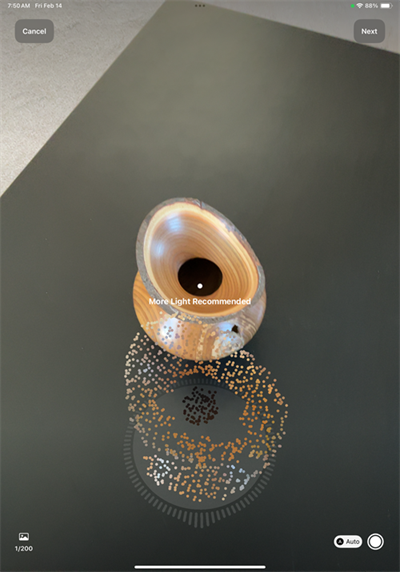
Move slowly around the object you are scanning. Moving slowly and scanning as many angles as possible allows more data collection and results in a more robust scan. As segments are scanned, the spokes surrounding the circle start to fill in.
-
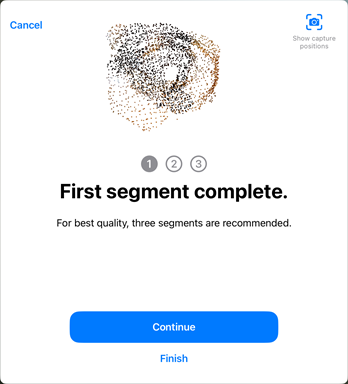
Once all the spokes are filled in, this segment's scan is completed. The following prompt opens. Press the Continue button:
-
The next prompt asks you to turn the object on its side. Once this is done, press the Continue button to begin the second pass:
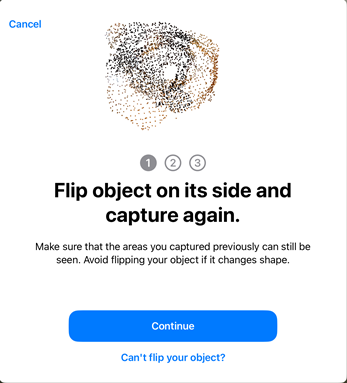
-
When the second segment is completed, a prompt opens. Press the Continue button:
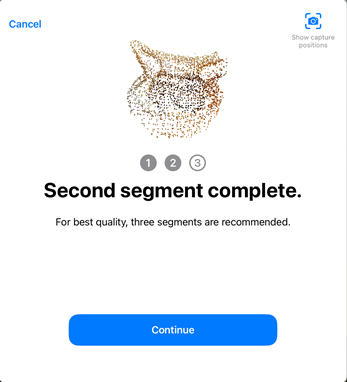
-
The next prompt asks you to flip the object on its opposite side. Once this is done, press the Continue button to begin the third pass:
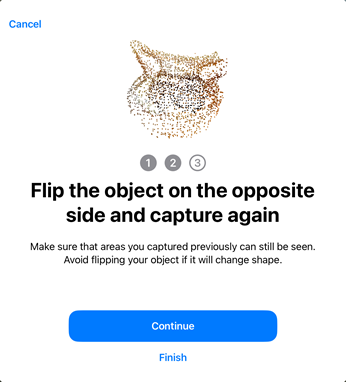
-
When the third segment is completed, a prompt opens to explain that all segments are completed. Press the Finish button:
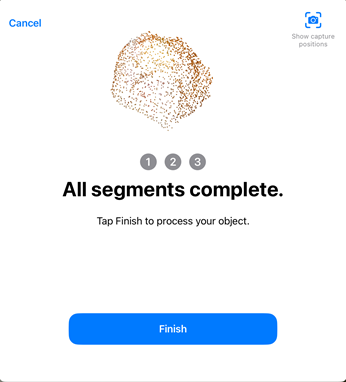
-
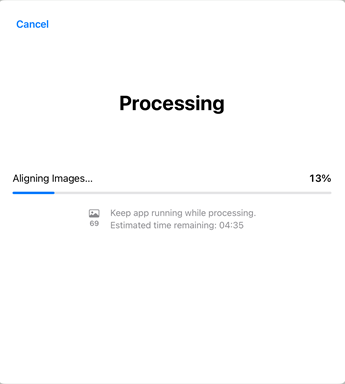
Click the Finish button to complete the scan. The scan is processed and the following progress bar appears:
-
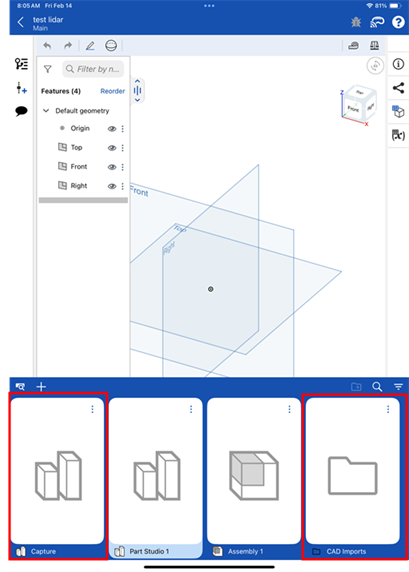
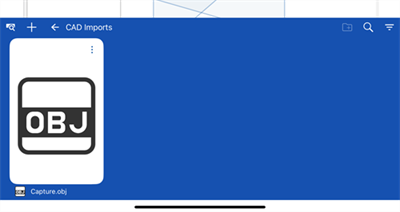
When completed, the object scan is brought into a Part Studio (Capture) tab to hold the mesh data (first image below). A CAD Imports folder is also created to contain the scan's OBJ file (second image below):
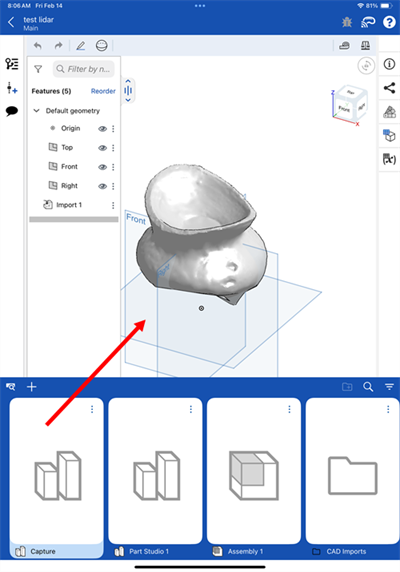
The Part Studio (Capture) contains an Import feature in the Features list and a mesh Composite part in the Composite parts list:
You can now use the mesh data to continue designing via mixed modeling.