Company/Classroom/Enterprise Settings - Items
![]()
Only available for
Add items that you will want to add to your bill of materials but that do not require being modeled (non-geometric entities). Adding those items here allows you to make use of them in any company/classroom/enterprise-owned documents.
To navigate to your Items settings in Onshape, click on your Account user icon (![]() ) in the top right corner of your Onshape window. This opens a dropdown menu. Click Company/Classroom/Enterprise settings.
) in the top right corner of your Onshape window. This opens a dropdown menu. Click Company/Classroom/Enterprise settings.
Click Items in the list on the left side of the page:
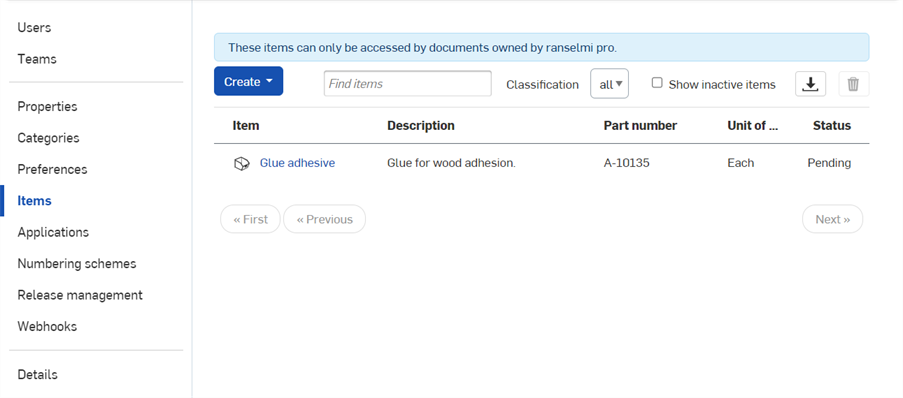
Company settings > Items
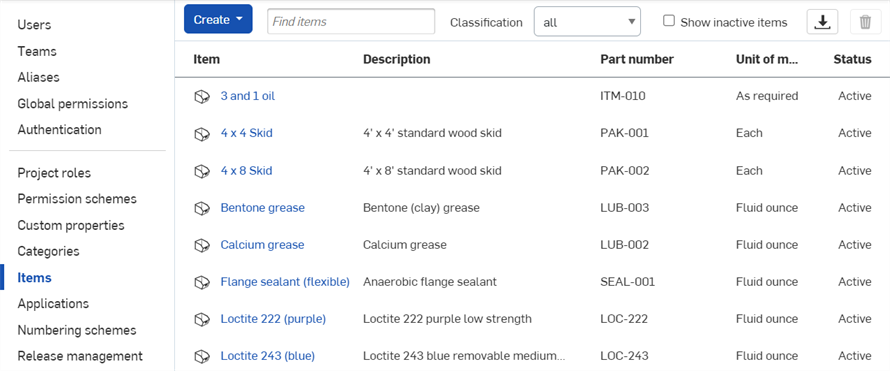
Enterprise settings > Items
Before creating items for the first time, you can prepare for it by ensuring you have your desired classification of materials or supplies already present in your company/classroom/enterprise settings.
To check your company/classroom/enterprise classifications:
- Navigate to Properties.
- Find the Classification property, click the name to edit it.
- Under Edit list values you can browse the classifications that have already been added.
- To add new classifications (for example, "Adhesive"), enter the category names in the "Add new list values" text box:
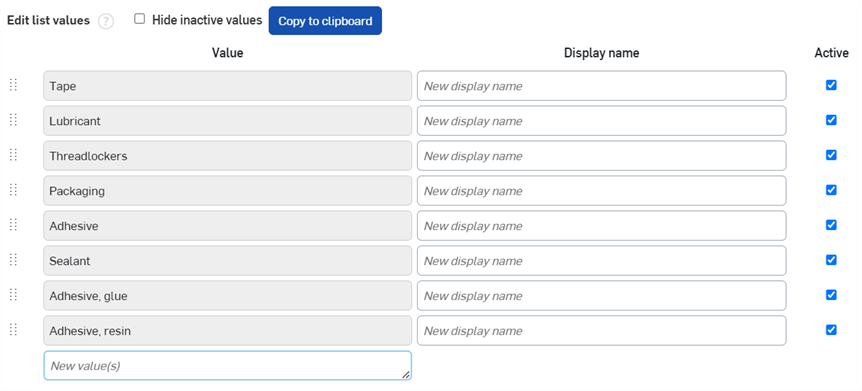
The classification names must be entered one value per line, and each value may contain commas (as seen in the existing Value fields, above)
- To save your new Classification values, click Save changes at the bottom of the page.
To create Items for company/classroom/enterprise-owned documents to make use of:
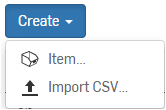
- Click Create.
- Click
Item
to create an individual item:
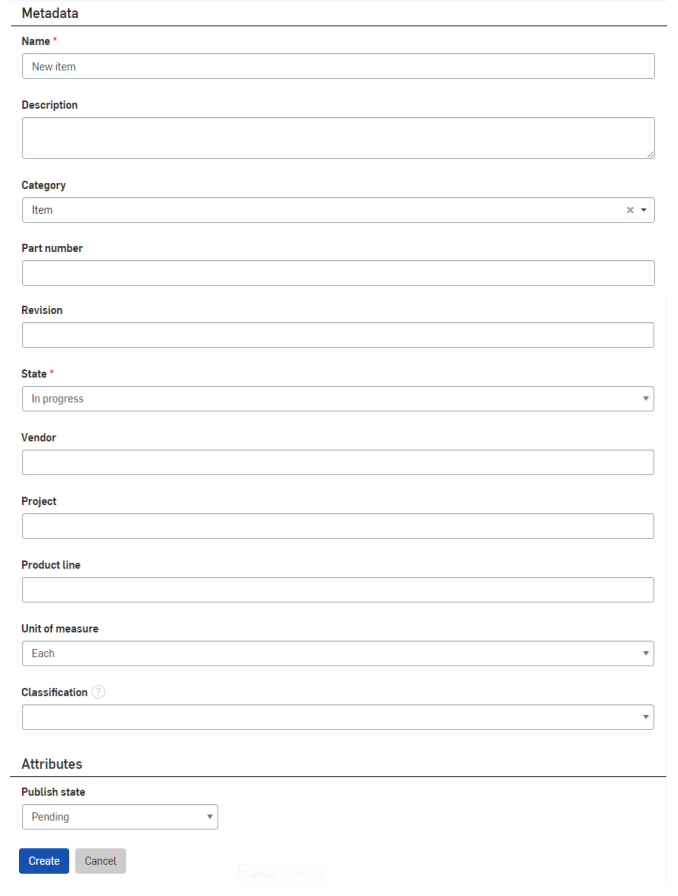
- Enter information for the metadata, such as:
- Name of new item
- Description of item (Optional)
- Category (Optionally replace the default category or add multiple) (The Category must have previously been added through the Custom properties for Category)
- Part number
- Revision
- State (In progress, Pending, Released, Obsolete, Rejected, or Discarded)
- Vendor
- Project
- Product line
- Unit of measure (Centimeter, Foot, Inch, Meter, Millimeter, Yard, Gram, Kilogram, Ounce, Pound, Liter, Gallon, Each, Fluid Ounce, Milliliter, Centiliter, or Package)
- Assign a Publish state:
- Pending - Not yet published; no users can access the item
- Active - Immediately available to users
- Inactive -Unavailable to users, retired
- Click Create.
- Enter information for the metadata, such as:
- To import a comma-separated value list (CSV):
- Create the CSV file with column headers to match the fields of the items, pay attention to capitalization (Name, Description, Part number, Unit of measure).
To enter the correct unit of measure, look at the list shown in the dialog above, and enter them as shown.
- Enter a Status. If you leave status out, it defaults to active - if you specify a status of Pending you can check the values once imported into Onshape. Then, when you are satisfied, you can change the status in the CSV and reimport over the old one with a status of Active.
- In Onshape, select Create > Import CSV.
- Select your CSV file and click Open.
- Once imported, the table is displayed in the Onshape interface and color-coded as to whether the fields are valid or invalid (red for invalid, green for valid). Hover over a row for a hint at what could have gone wrong for invalid rows. If the import was successful, the Import button will be active. Click it to finalize the import.

Sample Import CSV Items template
- Create the CSV file with column headers to match the fields of the items, pay attention to capitalization (Name, Description, Part number, Unit of measure).
To export items to an external .csv file:
-
Click the Export button at the top right of the Items list heading:

-
The Items list is exported into a .csv file. Open this file in a spreadsheet program such as Microsoft Excel, with Name, Description, Part number, Unit of measure, and Status columns:
