 Crop View
![]()
![]()
![]()
Available in: Drawing
To crop a view, sketch a circle, spline, or polygon around the area you wish to keep.
- Click
 .
.
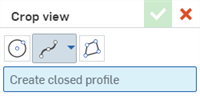
- Select a sketch shape and then draw the shape around the area you wish to keep:
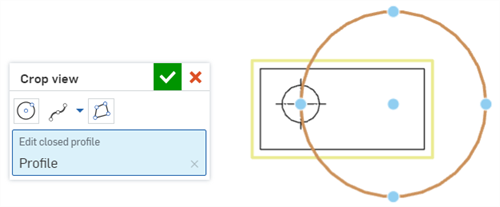
- Circle: Click once to place the circle's center, then click again to place the edge of the circumference.
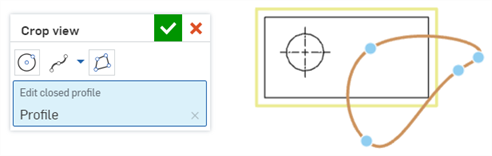
- Spline: Click to place spline points. Double-click to close the spline.
- To add a spline point, click the Spline dropdown and select Add spline point.
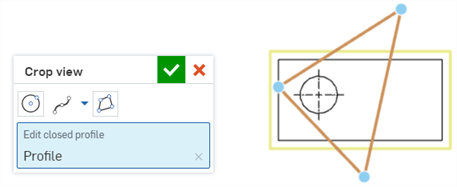
- Polygon: Click to place polygon corners. Double-click to close the polygon.
- Circle: Click once to place the circle's center, then click again to place the edge of the circumference.
-
Click
 .
.
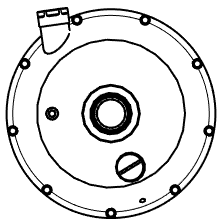

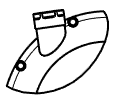
Original view (left); spline defining crop boundary (middle); resulting crop view (right).
- Right-click the view and select Edit crop to re-open the dialog and edit the specifications.
- Right-click the view and select Remove crop to delete the crop view from the drawing.
You can also double-click on the view to open the View properties dialog.
This table illustrates the types of views from which the Crop view can be created:
| Crop view | |
| Can be created from: | Cannot be created from: |
|
Projected views Auxiliary views Section views Aligned section views Views with broken-out sections |
Detail views Break views Flat pattern views |