 Center Point Arc
![]()
![]()
![]()
Sketch an arc by defining center, start, and end points.
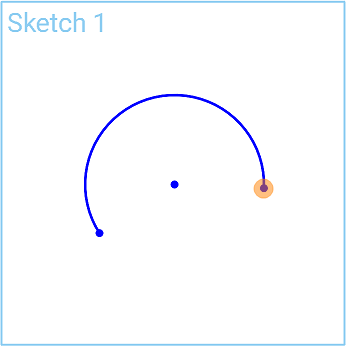
The Center point arc sketch tool creates an arc by defining center, start, and end points.
Click the Sketch feature on the feature toolbar to create a new sketch. Select a plane in the graphics area.
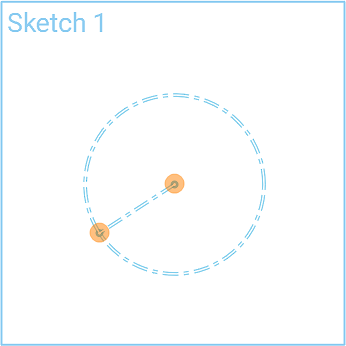
Click the Center point arc sketch tool on the sketch toolbar. Click to establish the center of the arc. Click the start point for the arc, which establishes the arc radius. Click the end point for the arc. Optionally, immediately after the arc is created, input a numerical value for the radius and press enter on your keyboard to dimension the arc.
To create a tangent arc you can use the Tangent arc sketch tool. Alternatively, you can use the Center point arc sketch tool. In this example, a tangential arc is created along one side of the rectangle. Select the Center point arc sketch tool from the sketch toolbar. Hover over the edge of the rectangle until you see the midpoint inference box. Click to establish the center of the arc. Hover over the rectangle edge corner until you see the inference box. Click to establish the arc start point. Hover over the opposite corner on the rectangle edge until you see the inference box and click to create the end of the arc.
Steps
-
Click
 .
.
- Click a center point on a sketch entity.
- Click start point.
- Click end point.
- Optionally, immediately after the arc is created, input a numerical value (or type "=#" to input a variable) for the radius and press enter. This dimensions the arc without having to use the dimension tool.
To input a variable in any dimension field after the geometry is already sketched, the equal sign (=) is not required. Type "#" to input a variable.

