 Shell
Shell
![]()
![]()
![]()
Remove material from a part to produce a cavity of constant wall thickness with the option to remove zero faces (hollow) to many faces of the part (shell).
The Shell feature allows you to remove material from a part to produce a cavity of constant wall thickness with the option to remove zero faces (hollow) to many faces of the part (shell).
Click the Shell feature tool on the Part Studio toolbar. Click on the part face or faces to remove. The rest of the part is hollowed out, forming a shell. Enter a value in the Shell thickness field to set the thickness of the part walls. By default, the shell is formed inside the part face. Click the Opposite direction arrow to form the shell outside the part face.
Optionally, check Hollow and select the part in the graphics area to shell (hollow) the part without removing any faces. Click the green checkmark to accept the new shell. To view the hollow part, click the Camera and render options dropdown, and select Section view. Then select a Section plane, in this case the front of the part. As you move the manipulator arrow, the hollow center is revealed.
- Click
 .
.
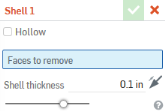
- With focus on the Faces to shell field of the dialog, click on the part face or faces to remove. (The rest of the part will be hollowed out, forming a shell.)
Optionally, check the Hollow box to shell (hollow) the part without removing any faces:
- In the numeric value field, enter a value for the thickness of the part wall.
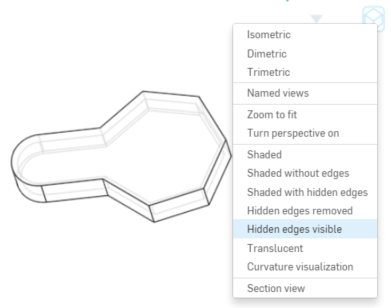
A hollowed-out part will show edges when displayed with Hidden edges visible:
-
Click
 .
.
The direction arrows next to the numeric field in the dialog allow you to select whether to create the shell wall by using the part face as the inside of the shell or the outside of the shell.
Remove material from a part to produce a cavity of constant wall thickness with the option to remove zero faces (hollow) to many faces of the part (shell).
Steps
- Tap the Shell tool icon (
 ).
).
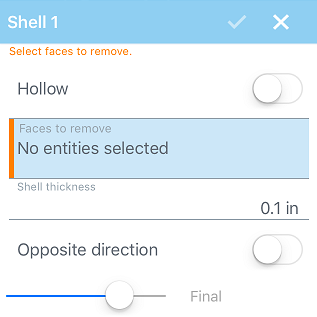
- Optionally, toggle Hollow to shell (hollow) the part without removing any faces.
- Select Faces to remove. The part face or face you select is removed and the rest of the part is hollowed out, forming a shell.
- Specify Shell thickness. The thickness of the part wall.
- Optionally, toggle to switch to the Opposite direction.
- Tap the checkmark.
Example
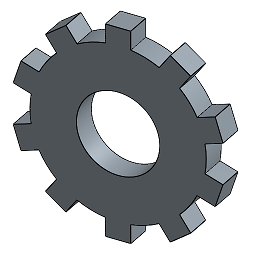
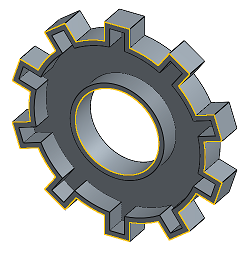
Remove material from a part to produce a cavity of constant wall thickness with the option to remove zero faces (hollow) to many faces of the part (shell).
Steps
- Tap Shell tool.

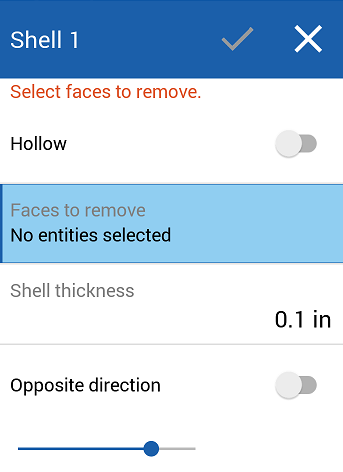
- Optionally, toggle Hollow to shell (hollow) the part without removing any faces.
- Select Faces to remove. The part face or face you select is removed and the rest of the part is hollowed out, forming a shell.
- Specify Shell thickness. The thickness of the part wall.
- Optionally, toggle to switch to the Opposite direction.
- Tap the checkmark.
Example

