Selecting Parts for a Release Candidate
![]()
Only available for
Once a Release candidate has been created, you can include additional parts, Assemblies, Drawings, Variable Studios, or files from the document you are currently in that exist in the currently active workspace. Parts derived from another document in a Part Studio or linked from another document in an Assembly are included automatically in the Release candidate. Enterprise and Professional users can also add objects from another document to a release candidate.
Adding objects to a Release candidate
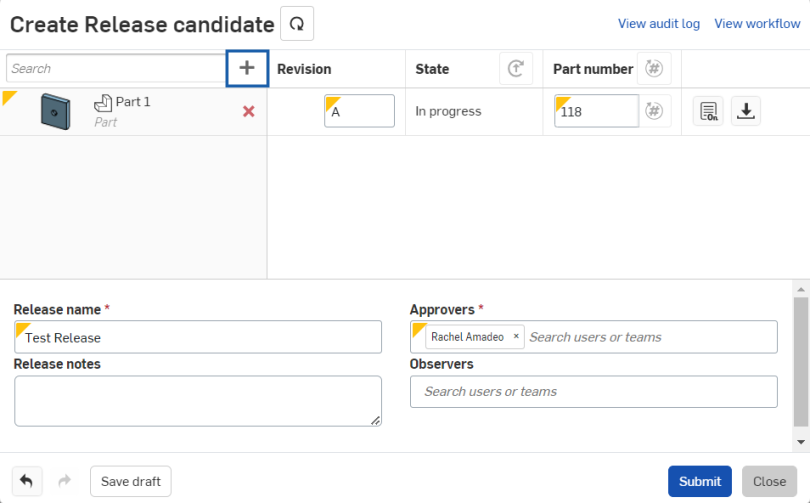
Create a Release candidate. When the Create Release candidate dialog is open, you may begin to select additional objects for release:

- Optionally, click Include associated drawings
 at the top of the dialog (outlined in red above). Drawings associated with items in the release are also added to the release.
 - Warnings are shown for any outdated associated drawings. You can update them or include the outdated drawings in the release.
- Drawings that reference a version from a different workspace than the one the release is created in are not included as associated drawings. To include one of these drawings, create it in the same workspace as the release, or create a version in the drawing itself.
- Click the plus sign
 at the top left of the dialog (outlined in red above) to add to the release.
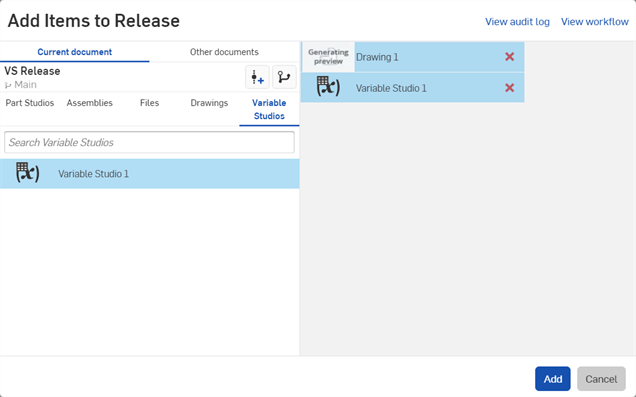
- Select any Part Studios, Assemblies, Drawings, Variable Studios, or Files:
-
You can use the search box to enter names or partial names of the selected object type.
Note that if you have a Professional or Enterprise account, you can also click the Other documents tab to insert items from outside the current document.
Selecting an object on the left adds it to the list of objects to be included in the release, on the right.
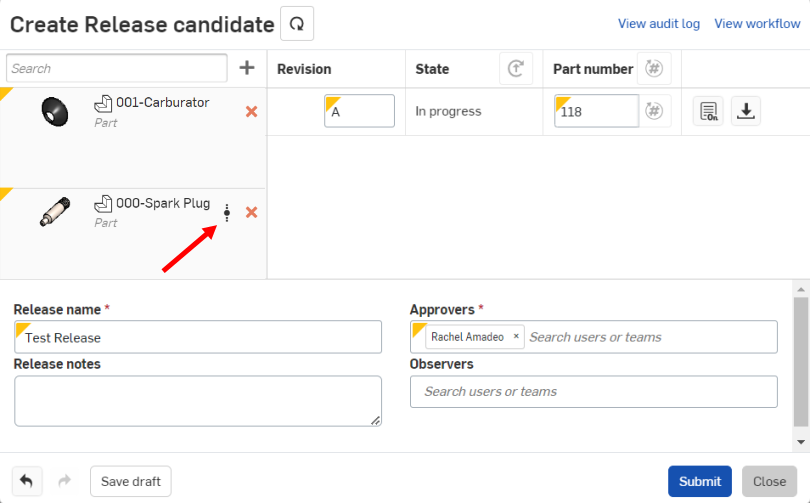
When you add a top-level item from either a different version of the same document, or a version of another document, an icon appears beside the added item indicating it is linked from another version (indicated below by the red arrow):

- Click
Add
when you are ready to add the listed items (on the right side of the dialog) to the Release candidate in the Create Release candidate dialog.
Use the red X to remove an object from the Release candidate, if necessary.
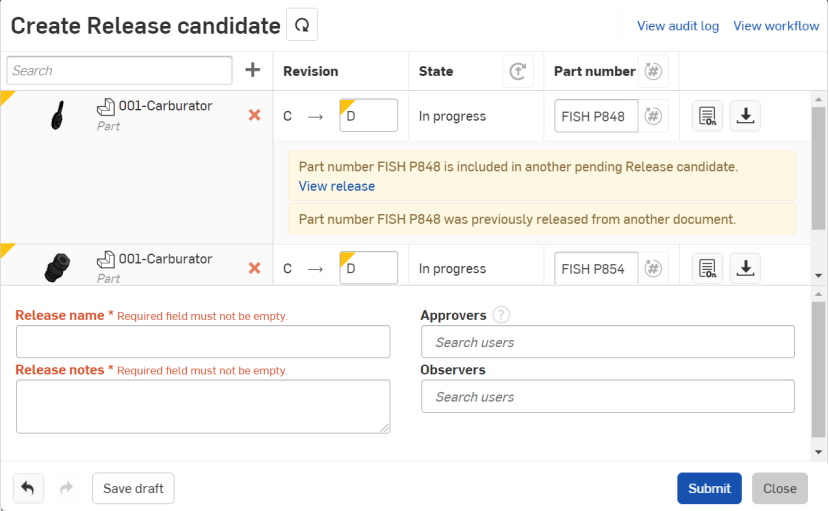
If you add a part that is part of another release with a state of Pending, the dialog will notify you:

-
Fill out the rest of the Create Release candidate dialog as necessary and dictated by the release rules your company administrator has set up.
