Named Views
![]()
![]()
You have the ability to create and name views for use later within a workspace. Named views capture the perspective, the zoom scale, and the orientation of the current view.
To create a view and name it in order to retrieve it for later use:
- Rotate your model into the desired view. For example:
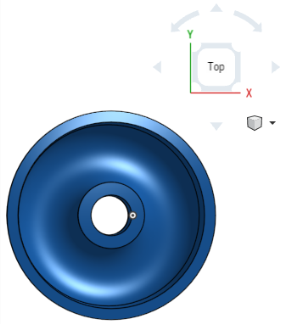
- Optionally, select Turn perspective on, and/or Zoom to fit. You may also section the view (Turn section view on) and adjust the sectioning.
Perspective view shows the relative distance from the point of view to the model, and creates a vanishing point as the point of view (or imaginary camera) approaches the model.
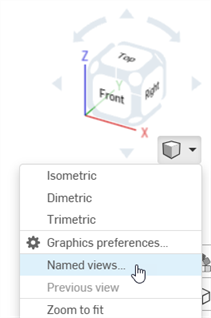
- Access the View Tools menu and select Named views:
- In the dialog, enter a name for the view in the first field:

- Click the plus sign icon.
- The new view name is saved and added to the Select a view field:
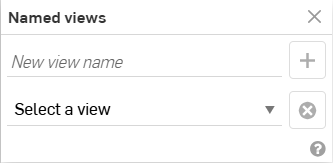
You can create as many named views as preferred, per workspace.
To delete a named view:
- Select the view from the dropdown:
-
Click the
 icon.
icon.
To open the Named views dialog, use the shortcut keys: Shift+v. This opens the dialog next to the View cube dropdown, unless the Named views dialog has been previously repositioned in which case it will open in its former location.
If the graphic is in a position that matches a named view at the time the Named view dialog is opened, that view will automatically be selected in the dialog's dropdown menu.
You have the ability to create and name views for use later within a workspace. Named views capture the perspective, the zoom scale, and the orientation of the current view.
To create a view and name it in order to retrieve it for later use:
- Rotate your model to the desired view, for example:
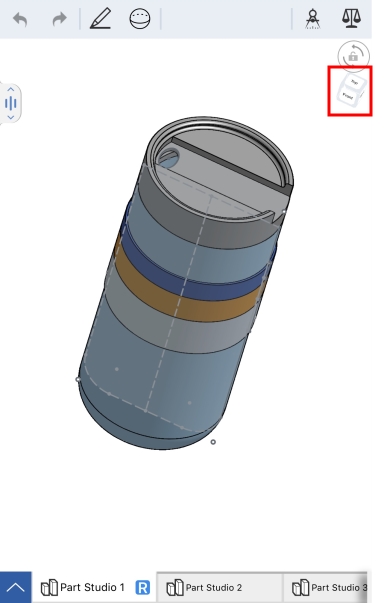
- Optionally, tap the View cube (shown above to the left of the blue arrow), select Turn perspective on, and/or Zoom to fit. You may also section the view (Turn section view on) and adjust the sectioning.
Perspective view shows the relative distance from the point of view to the model, and creates a vanishing point as the point of view (or imaginary camera) approaches the model.
- Access the View cube menu by tapping the View cube, tap Named views:
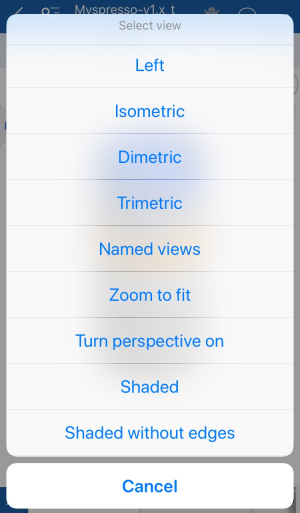
-
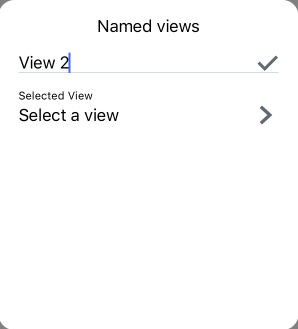
In the dialog, enter a name for the view in the first field, or tap Select a view to select a previously saved view:
- Tap the checkmark.
To delete a Named view:
- Tap Select a view in the second field of the Named views dialog.
- Swipe your finger from right to left across the desired view to delete it.
