Labels
![]()
![]()
![]()
Onshape provides a way for you to group and label documents and publications to better organize them. You can label individual documents and publications or groups at a time. You can also relabel documents and publications, apply more than one label to a document or publication, remove a label, and add and delete labels at will. All labels are user-specific, and no other user sees the labels you apply to documents and publications, regardless of permissions.
You can also create folders to physically group documents or publications. Share permissions are applied to the folder (top-level folders only) and all documents, publications, and sub-folders within a folder inherit those Share permissions. For more information about folders, see Creating and Using Folders.
-
Do one of the following:
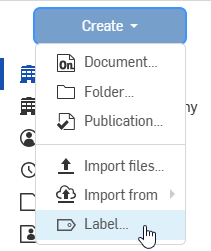
- Click Create > Label to create a label without immediately applying it to a document:
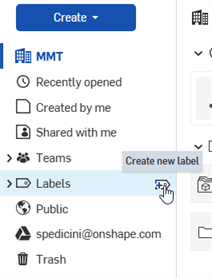
- Click the Create new label icon (
 ) next to Labels (
 ) in the filter list:
-
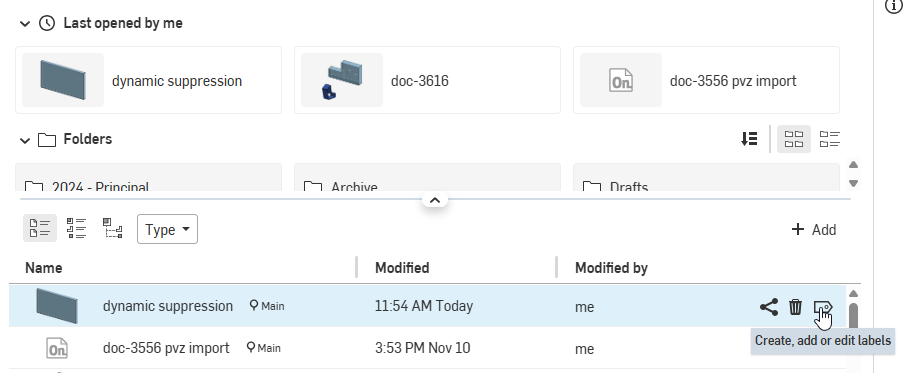
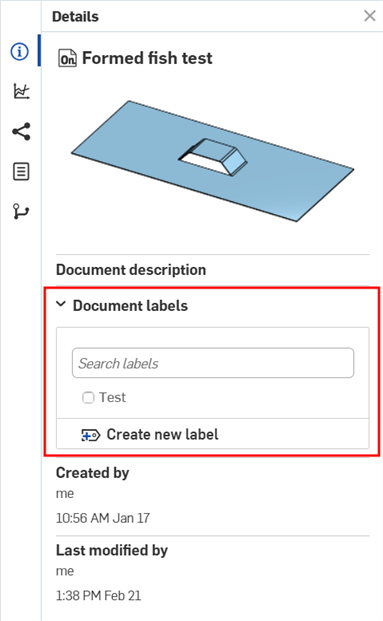
From a Publication or document on the Documents page, click the Labels icon (
 ) to create, add, or edit labels for the selected document (shown in the first image below). The Details panel opens, where you can perform these label operations (shown in the second image below). Click the Create new label icon (
 ):
):
- The Create new label dialog opens:

- Enter a name for the label and click Create.
The label appears in the filter list on the left side of the window.
Applying labels
You can apply one or more labels to one or more documents and publications at a time:
-
In the Documents list, select one or more documents. Use Ctrl+click to select more than one document or publication.
-
Right-click and select Labels from the context menu (first image below). Select which labels to apply to the document(s) and publications by checking the box next to the desired labels (shown in the second image below):

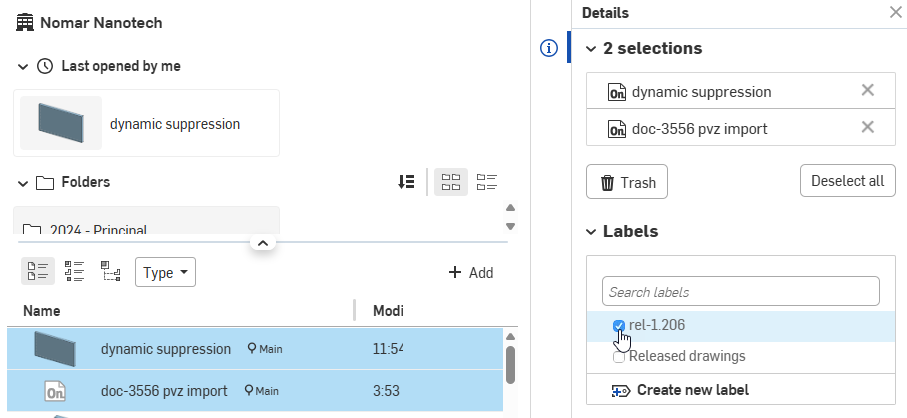
Use the Search box in the dialog to search for the label you want when applying labels to documents and publications.
To locate documents and publications with a particular label, select the label filter on the left side of the window.
You can also drag and drop selected documents and publications onto an existing label to apply that label.
You can also apply existing labels while creating a new document or publication:
-
On the Documents page, click Create.
-
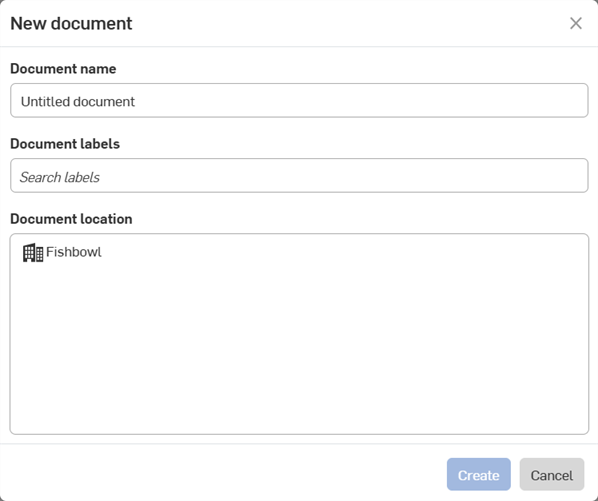
From the dropdown menu, click Document (or Publication)
-
This opens the New document/publication dialog box (shown above), where you can supply a name and optionally apply existing labels.
Filtering by labels
To locate documents and publications by label, select the label in the filter list:
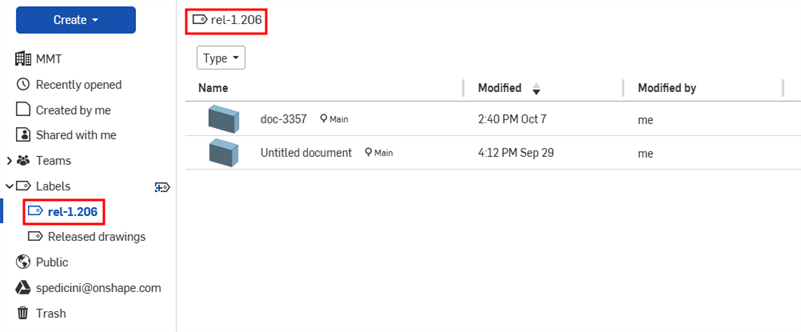
The breadcrumb at the top of the list displays the current filter selection (or folder path). The list is refreshed to list all entities with that label applied.
Deleting labels
Deleting a label has no effect on documents or publications, except to remove the label from them:
- Select the label in the filter list.
- Right-click and select Delete label.
- In the message that appears, click Delete.
You can remove a label from a document or publication by selecting the entity and opening the Label dialog (click the Label icon in the toolbar) or right-click the entity and select Labels from the context menu. This opens the dialog with a list of labels: click the checkbox to remove labels from, or apply labels to, the selected entity.
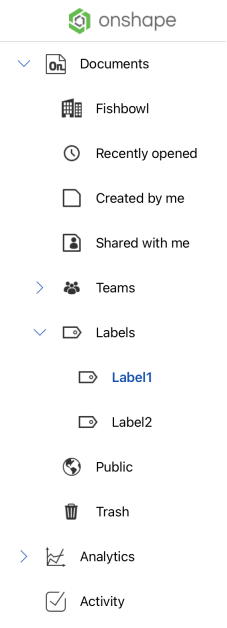
On Android and iOS mobile devices, you currently cannot create labels. You can, however, see and access labels on the home page that were created on the Onshape browser platform by tapping the Labels dropdown:
