 Custom Tables
![]()
Custom tables allow you to view information from the current Part Studio, using FeatureScript custom tables. You can create the FeatureScript yourself (see Add Custom Features) and you can also sample community-created tables. Once a table is added to a Part Studio, it becomes available in all documents to which you have access.
A custom table is comprised of 2 orthogonal components:
-
A custom table definition in a Feature Studio.
-
A Part Studio to tabulate data.
A custom table definition can be applied to any Part Studio.
When a custom table is inserted into a drawing, the Part Studio's tabulated data applies to the entire Part studio, and not only parts inserted or referenced in the drawing.
If you wish to add your own custom table, you should have the FeatureScript written and accessible before beginning this step. The Feature Studio does not need to be in the same document as Part Studio in which it is used.
Below is an explanation of the basic steps for adding a custom table, followed by instructions for beginning with a custom table sample.
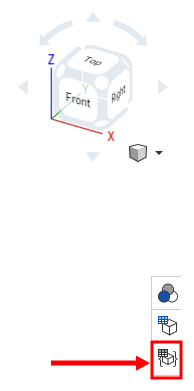
- Click
 to the right-side of the graphics area (below the View cube):
-
The Custom table panel opens:
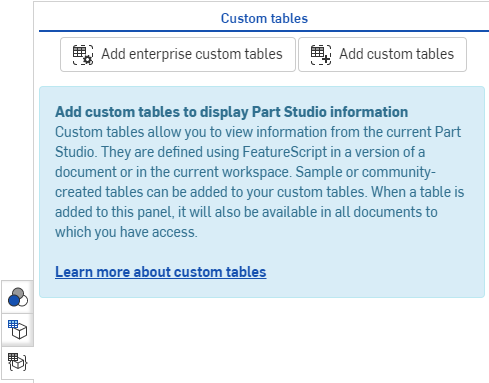
- You have two choices for adding custom tables:
- If you are an Enterprise administrator, you can click
 to select custom tables that will be made available to the entire enterprise:
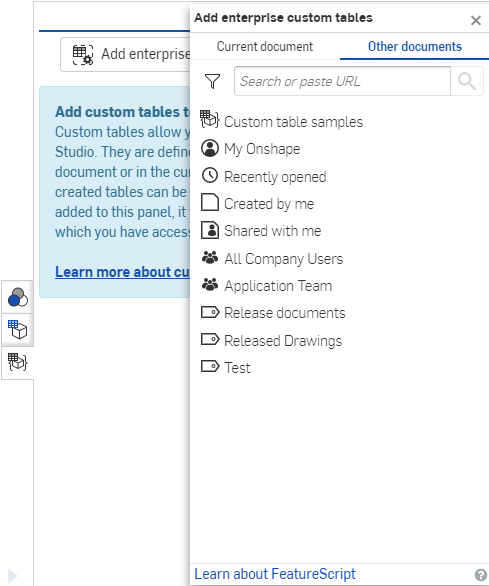
In the dialog that opens, select a document containing the FeatureScript you wish to use to add a custom table. Then select the Feature Studio and the custom table from that document.
Only FeatureScript from a version is valid.
- If you wish to add your own custom table, click
 .
.
In the dialog that opens, select a document containing the FeatureScript you wish to use to add a custom table. Then select the Feature Studio and the custom table from that document.
Only FeatureScript from a version is valid.
- If you are an Enterprise administrator, you can click
-
As soon as you select the custom icon, the custom table is added to the Part Studio.
- Click
 to the right-side of the graphics area (below the View cube):

-
The Custom table panel opens:

- Click
 .
.
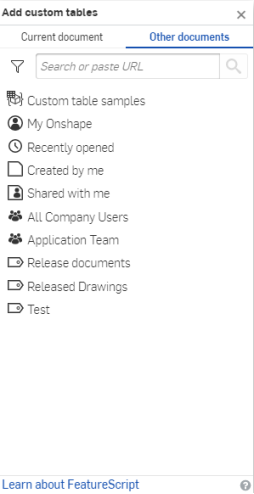
-
Click Custom table samples.
- Select a document containing the table you wish to add:
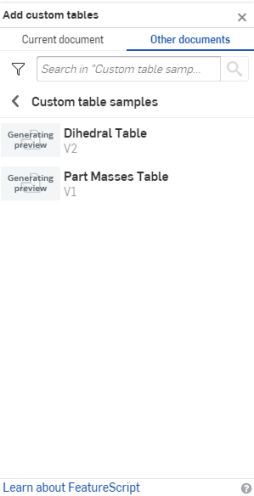
- Select a Feature Studio from the list, and then the Custom icon:
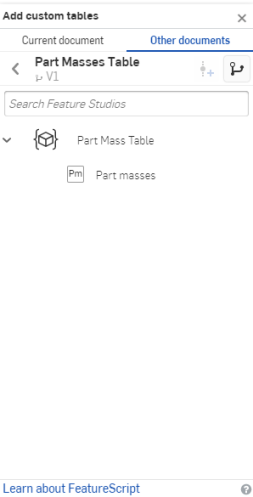
In this example, the document is Part Masses Table, the Feature Studio is Part Mass Table, and the custom feature is Part masses.
- As soon as you select the custom feature, the custom table is added to your Part Studio.
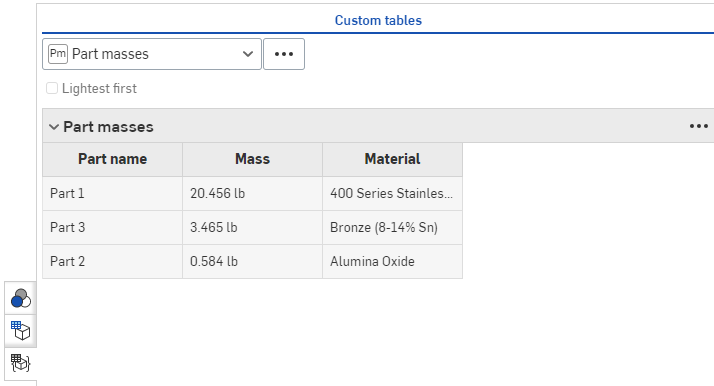
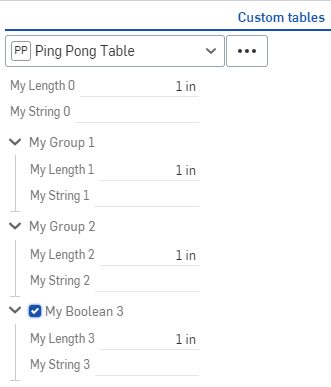
If the FeatureScript contains parameter groups or conditional visibility, you can visualize that in the custom table as well. See example below.
You can reorder columns in the table, remove them, and add them back:
Right-click on a column and select the command you wish: Move left, Move right, or Remove. If a column has already been removed, add it back through the overflow menu of the table itself:
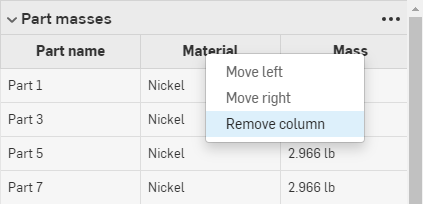
Right-click on a column to see the commands available; in this case the Hide column command is selected.
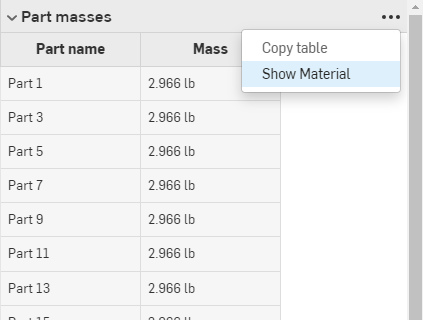
Use the overflow menu to show table commands such as Copy table and Show <previously removed> columns.