 Volume (Render Studio Advanced)
![]()
Only available for.
Available in: Render Studio
A volume is a cubic region in which the volumetric portion of an appearance exists and is rendered. The volume can optionally be an OpenVDB 3D texture. Non-advanced users can open a scene that contains Volumes, but their properties are non-editable.
For an alternate method to create a volumetric effect, see Creating volumetric effects with the OpenVDB volume appearance.
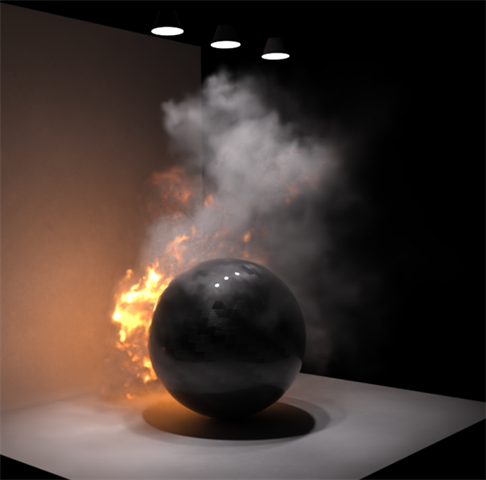
Example output using a Volume to display smoke and fire
To create and edit a volume:
-
Click the Volume icon (
 ) on the toolbar:
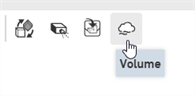
-
The Volume dialog opens. Select from the following options, as required (not all options are available for all Volume types):
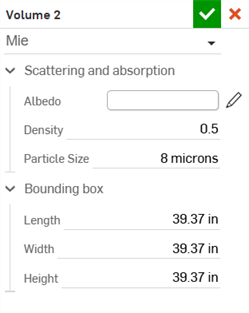
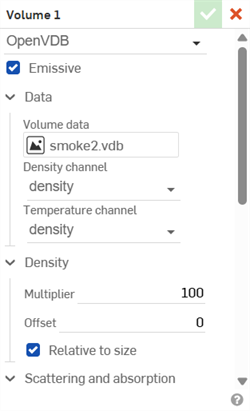
Example of the Mie volume type (left) and OpenVDB volume type (right)
-
Volume type - Select from the following 3 Volume types: Mie, Anistotropic, and OpenVDB.
-
Emissive - Allows the volume to emit light by selecting a channel corresponding to the temperature of the volume.
-
Data
-
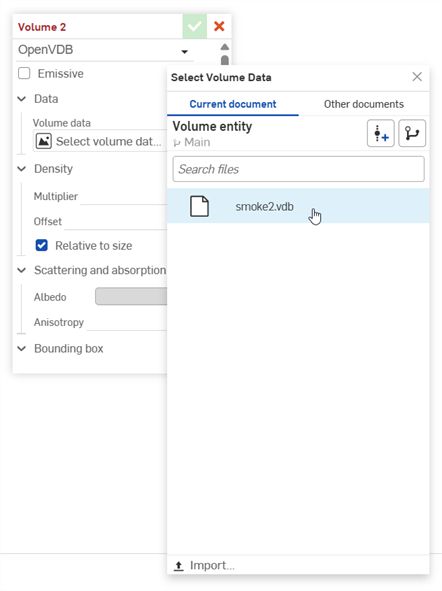
Volume data - OpenVDB volume data. Click this field to open the Select Volume data dialog, where you can locate the OpenVDB data from the Current document or Other documents. Click the Import button at the bottom of the dialog to locate and open the OpenVDB data from your device. Once imported, it can be selected and used in the Render Studio for the volume:
-
Density channel - Data in the volume channel that controls the opacity. Lower values result in a thinner transparent volume. Higher values result in a thicker opaque volume.
-
Temperature channel - Only available if Emissive is enabled. Blackbody temperature (in Kelvin) from this channel sets the emission color and brightness, ranging from dim red to bright blue as temperature increases. Use the Temperature Multiplier and Offset parameters to convert source data to Kelvin.
-
-
Density
-
Multiplier - Scales the volume density.
-
Offset - Add or subtract density from the entire volume.
-
Relative to size - When enabled, the volume density scales with the physical size of the volume.
-
-
Scattering and absorption
-
Albedo - The color of light scattered by the volume. Click the Select albedo icon (
 ) to open the Select albedocolor picker dialog. Select a color for the albedo, and then click the checkmark icon (
 ).
). -
Density - Controls the opacity of the volume. Lower values result in a thinner transparent volume. Higher values result in a thicker opaque volume.
-
Particle size - Average diameter of the particles in the volume.
-
Anisotropy - Influence of light direction on scattering. Values range from -1 specifying backward scattering, 0 specifying isotropic scattering, and 1 specifying forward scattering.
-
-
Temperature (parameters are only available if Emissive is enabled)
-
Multiplier - Scales the temperature to convert to Kelvin. For example, if the Temperature channel of the volume uses kilokelvin, then set the Multiplier to 1000 to convert to Kelvin.
-
Offset - Add or subtract temperature to convert to Kelvin. For example, if the Temperature channel of the volume uses Celsius, then set the Offset to 273.15 to convert to Kelvin.
-
Tint - Tint of the emission color. Click the Tint icon (
) to open the Select tintcolor picker dialog. Select a color for the tint, and then click the checkmark icon (). -
Use density - Apply the density to the emission as well as the scattering and absorption.
-
-
Bounding box
-
Measurement - Select from Centimeter, Foot, Inch, Meter (default), Millimeter, Yard, or Custom.
-
Scale - If Custom is selected for the Measurement, this uniformly scales the physical size of the volume's bounding box in all directions.
-
-
Length - Bounding box length.
-
Width - Bounding box width.
-
Height - Bounding box height.
-
-
-
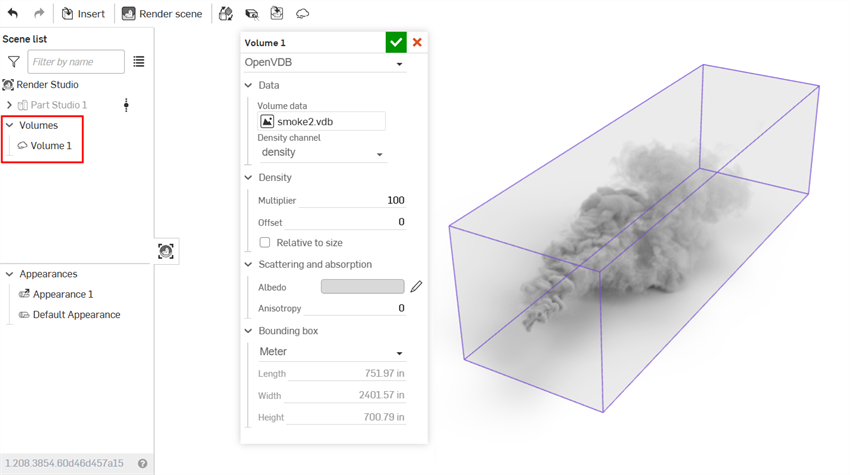
As you edit, the bounding box is displayed in the graphics area, surrounding the volume with a purple outline. The Volume is also added to the Scene list on the left under a Volumes dropdown list:
-
When finished editing, click the checkmark (
) to apply the volume. The bounding box disappears and the volume remains in the graphics area: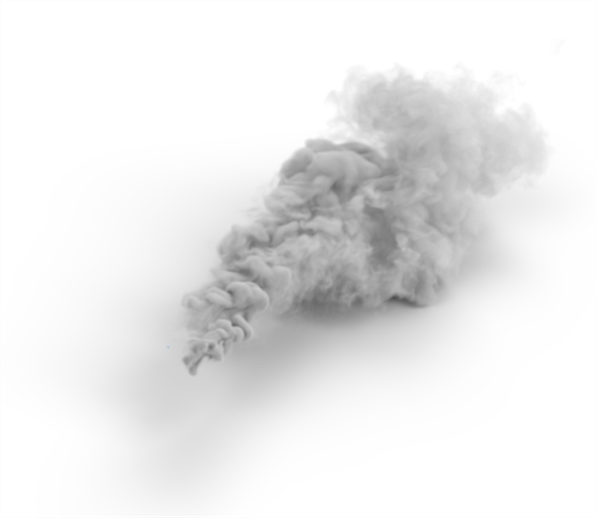
-
To edit the volume at any point after it is applied, double-click the volume in the Scene list to open its dialog.
-
Volumes can be transformed in the same way as other entities.
-
Volumes can be duplicated one at a time by right-clicking on the Volume in the Scene list and selecting Duplicate volume from the context menu. The copy is placed directly under the currently-selected volume.