 Altium 365 Integration

![]()
Only available for.
Available in: PCB Studio
Altium 365 Integration links a user's Altium account to their Onshape account. Once integrated, the user can browse Altium workspaces, and import Altium boards directly into PCB Studio without the need to use files. When an Altium board is imported, it can be created in Onshape using the same tools already used for boards imported from file formats like IDF.
Altium 365 Integration is bidirectional. Changes to the board outline shape or component positions can be made in Onshape, re-imported into PCB Studio, and then pushed back to Altium.
Unlike IDF files, boards imported into PCB Studio from Altium are created with decals that show the board’s copper, solder mask, and silkscreen. Any associated 3D component models that exist in Altium are imported and added to the PCB Studio component mappings library.
To use Altium 365 with Onshape, the following is required:
-
Altium account (sign in)
-
Access to Altium Workspaces
-
Edit rights to board Projects
Collaboration in Altium is via Altium's MCAD CoDesigner extension.
The Onshape PCB Studio Connector App must be enabled in each Altium workspace before PCB Studio can access that workspace. Altium workspace Administrator rights are required to complete this procedure.
-
Sign in to Altium.
-
Select Admin > Apps from the left side menu.
-
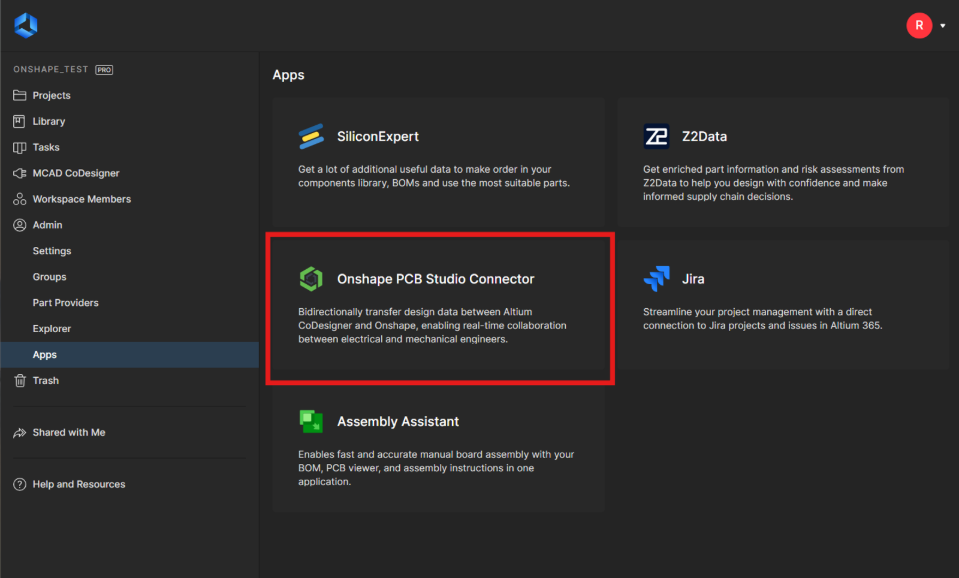
Select the Onshape PCB Studio Connector app:
-
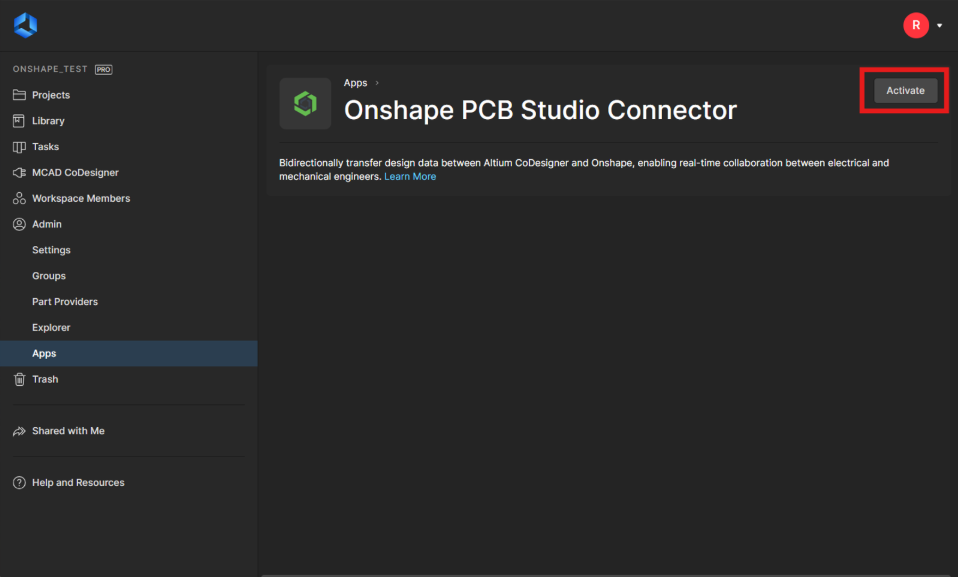
Click Activate:
-
Click Activate again on the confirmation dialog to add the app to the Altium workspace. The integration can be removed from the workspace at any time if required by returning to the same screen and clicking Deactivate.
Your Altium 365 integration may be managed by your enterprise or company administrator. See Enterprise Settings - Integrations if you are administering Altium 365 for an enterprise or company.
Altium 365 integration is not currently supported for the Onshape Government subscription.
To integrate your Altium 365 Account in order to access Altium workspace projects in a PCB Studio tab:
-
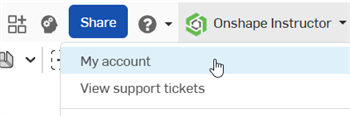
Click on your Account user > My account in the top right corner of your Onshape window:
-
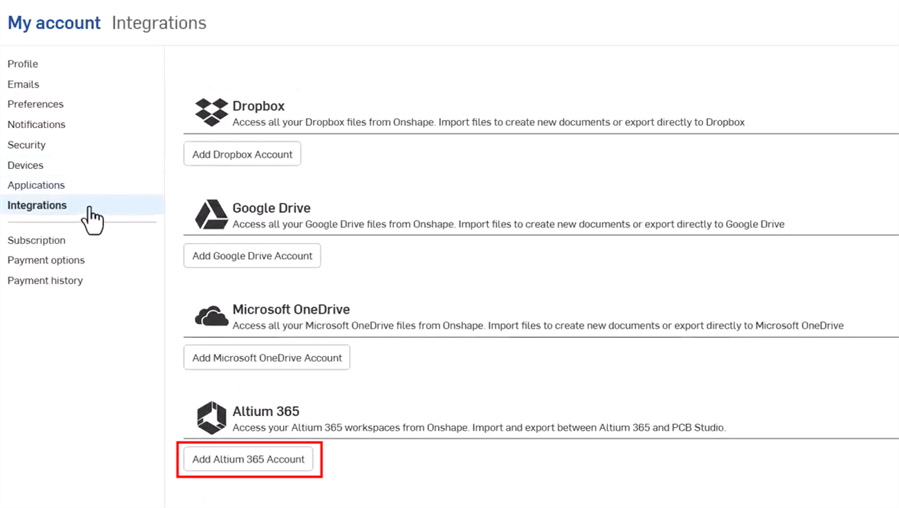
Click Integrations in the list on the left side of the page:
-
Click the Add Altium 365 Account button.
-
If you are not already logged in, the Altium sign in page is displayed. Enter your credentials and click the Sign In button. Your Altium email does not have to be the same as your Onshape email.
-
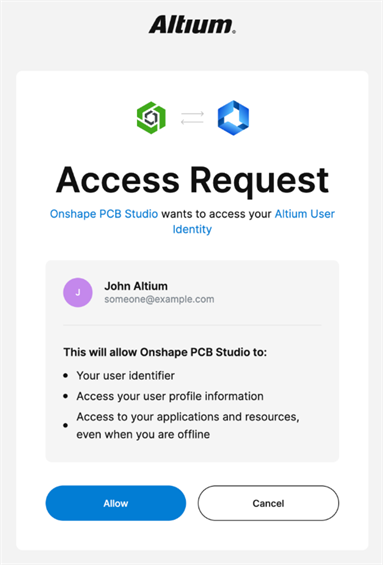
The Access Request dialog is displayed. Click the Allow button to accept the request to connect Onshape PCB Studio to the Altium User identity:
You are redirected back to the Onshape Integrations page, where the Altium integration is now added:

Click Remove to remove the integration or Refresh to update it.
Once you have Integrated the Altium 365 Account with Onshape (explained above):
-
From the Documents page, create a new document (Create > Document).
-
Create a new PCB Studio tab. See Creating a PCB Studio in Onshape.
-
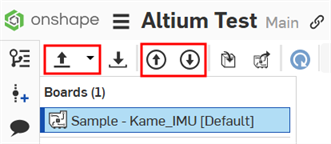
At the top left of the PCB Studio tab are the following 3 icons:
-
Import ECAD Files (
 ) - Import your board from the Altium 365 cloud service. Use the dropdown menu button (
 ) to select Import from Altium 365.
 -
Push board to cloud service (
 ) - Push board to the Altium 365 cloud service.
 -
Pull board from cloud service (
 ) - Pull board from the Altium 365 cloud service.
Click the dropdown menu button (
) and select Import from Altium 365: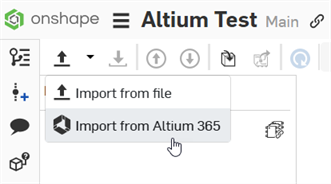
-
-
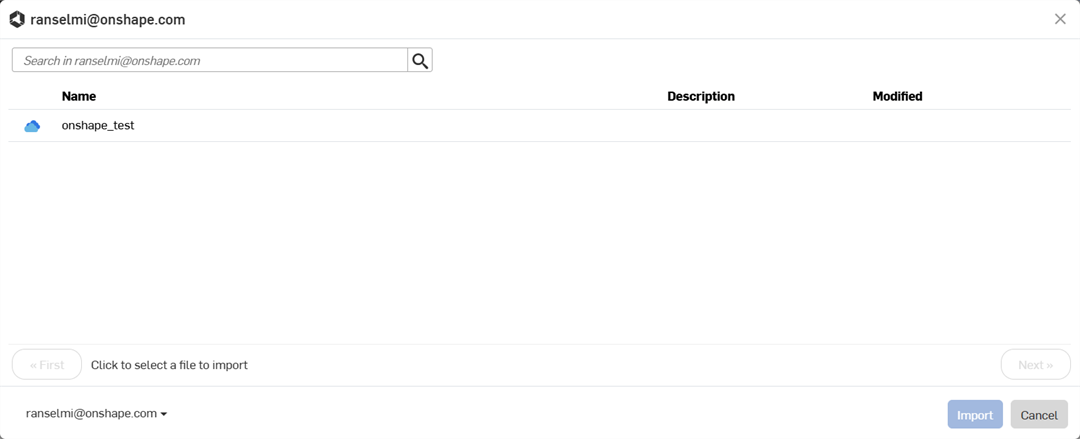
A dialog opens displaying all Altium workspaces in which you are a member. Click on the required workspace (in the example below there is only 1: onshape_test). Alternatively, click the Cancel button to exit the dialog without selecting a workspace.
-
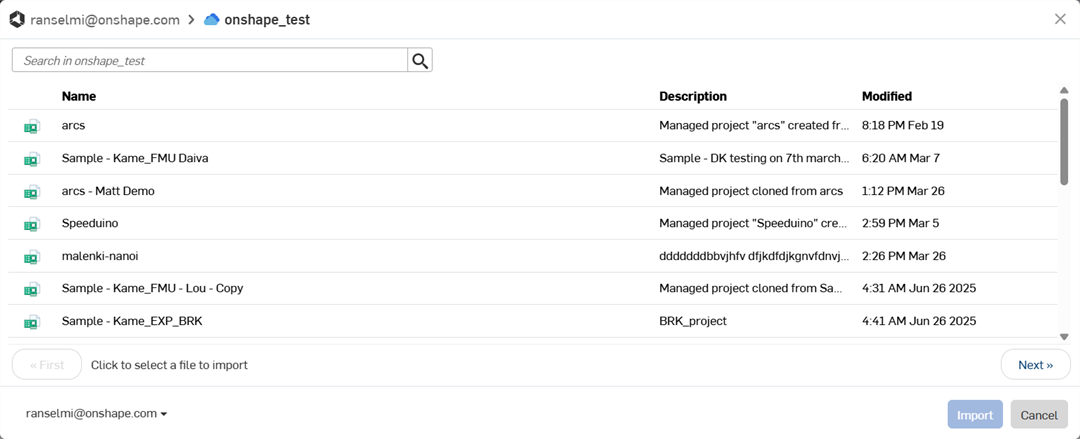
A dialog opens displaying all projects in the workspace. Click on a project to select it from the list. Click the Next button below the list to navigate forward to the next page of projects in the workspace, or click the First button to navigate back to the first page.
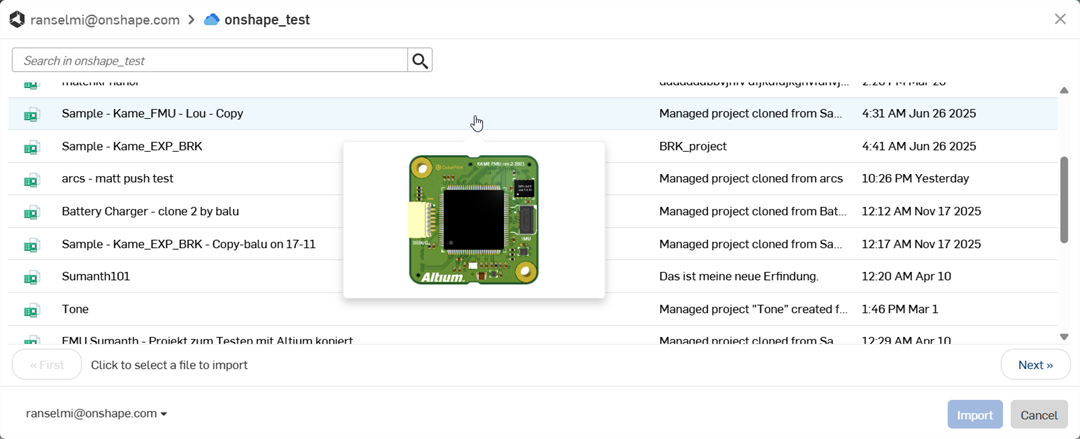
As you hover over a project, a thumbnail appears below the cursor to provide a visualization of the project:
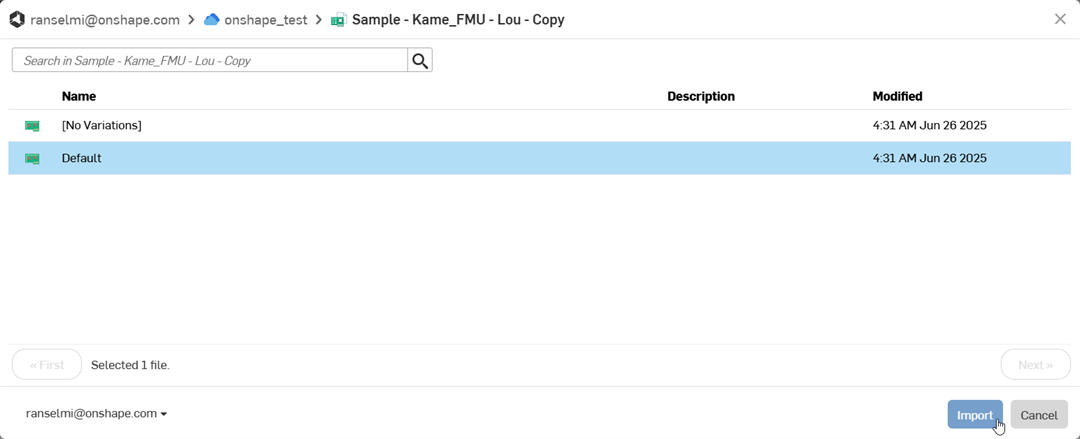
Once a project is selected, a dialog opens displaying all project variations. Click to select the project variation. Then click the Import button. Alternatively, click the Cancel button to exit the dialog without selecting a project variation:
-
If there are several detailed model components being downloaded, this could take additional time, even after the initial project is displayed on-screen. These components are downloaded via background processes. Once all components are brought in, click the Update icon (
 ) at the top right on the toolbar to update the library document to the latest version:
After import, the project is downloaded into the PCB Studio tab:
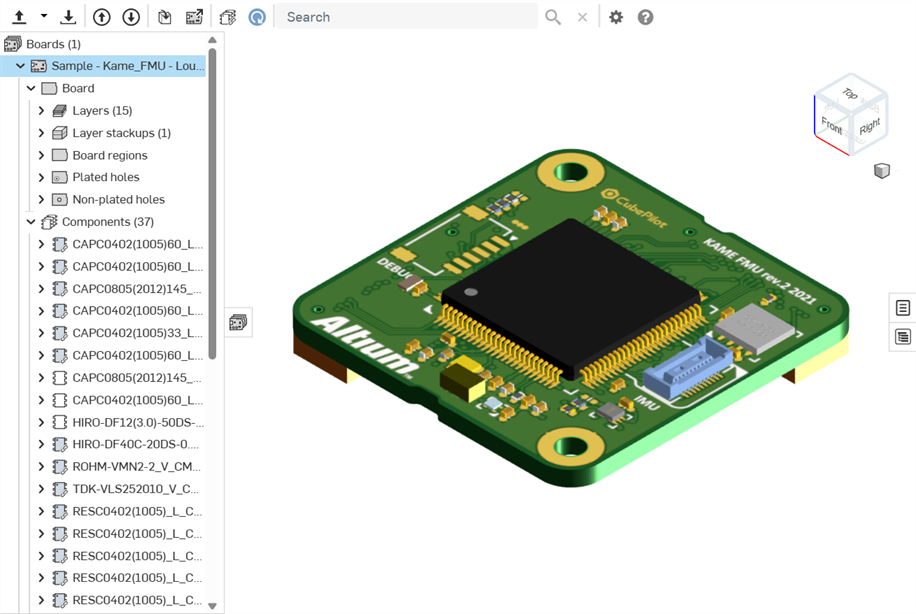
At this point, you can create an assembly from this PCB Studio board. See Translate the CAD data to ECAD.
Once your board edits are made in the Onshape Part Studio and Assembly, then synced with the PCB Studio, it is time to push those changes back to Altium:
-
Click the Push board to cloud service button (
).
-
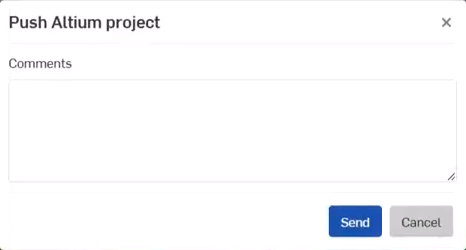
The Push Altium project dialog opens. Add any comments in the Comments field to provide a message to the ECAD user. This is any information about changes made to the board while the board was edited in Onshape.
-
Click the Send button. Alternatively, click the Cancel button to exit the dialog without pushing the board to Altium.
-
In Altium, the ECAD user:
-
Sees the message and all changes made to the board
-
Decides whether or not to apply these changes to the board
-
Makes additional changes to the board
-
Clicks the Push to MCAD button:
-
Adds a message to the MCAD user
-
Clicks the Send button
-
-
-
In PCB Studio, the MCAD user clicks the Pull board from cloud service button (
). The board is pulled from Altium into the PCB Studio and is updated with the changes made in Altium from the ECAD user.
This process can be repeated any number of times until the board is finalized between the MCAD and ECAD users.
-
When translating the CAD data to ECAD, additional board decals are created in separate tabs in the document. These decals are mapped to the board model's surfaces.
-
Copper and silkscreen information is unidirectional. It is brought into Onshape from Altium but is not sent from Onshape back out to Altium.