命名視角
![]()
![]()
您可以在工作區中建立與命名視角以供之後使用。命名視角保留遠近透視、縮放比例,以及目前視角的方位。
建立視角並命名以供日後取出使用:
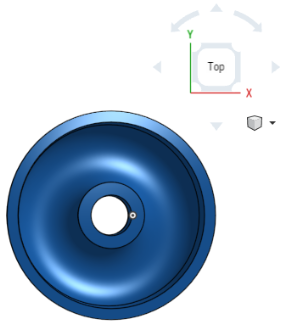
- 將模型旋轉至所需要的視角,例如:
- 可選擇性地使用 [開啟遠近透視],和/或 [縮放至適當比例]。您也可以剖切視圖 (開啟剖切視圖) 並調整剖切方式。
遠近透視顯示從視埠到模型的相對距離,並建立趨近模型時做為視埠 (或假想的攝影機) 的消失點。
- 存取檢視工具功能表然後選擇 [命名視角]:
![從檢視工具下拉清單中選擇 [命名視角]](Resources/Images/concepts/named-views-03-01.png)
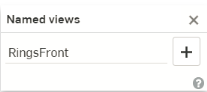
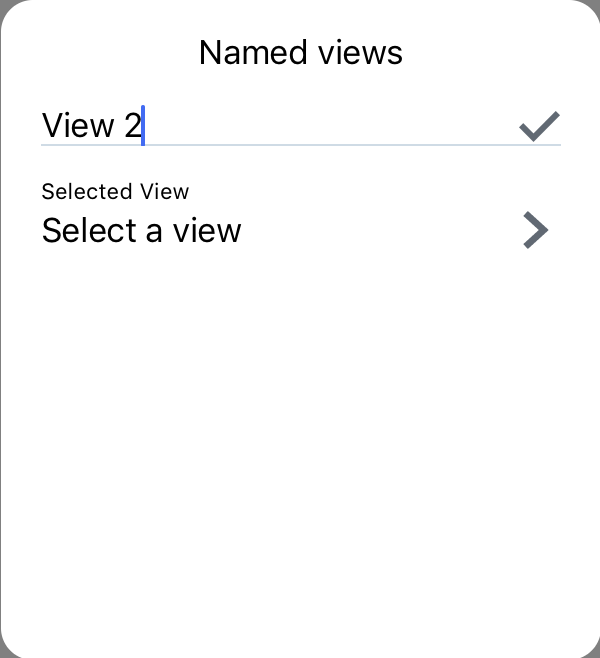
- 在對話方塊的第一個欄位中輸入視角的名稱:
- 按一下加號圖示。
- 系統即會儲存新的視角名稱,並將其加入至「選擇一個視角」欄位中:
您可以在每個工作區中建立任意數量的視角名稱。
刪除命名視角:
- 從下拉清單中選擇視角。
- 按一下
 圖示。
圖示。
若要開啟「命名視角」對話方塊,請使用快速鍵:Shift+v。這樣會開啟視角立方體下拉清單旁的對話方塊,除非先前已重新放置「命名視角」對話方塊的位置,這樣則會在之前的位置開啟對話方塊。
如果圖形的位置是在與「命名視角」對話方塊開啟時命名視角相符的位置,則會在對話方塊的下拉功能表中自動選取該視角。
您可以在工作區中建立與命名視角以供之後使用。命名視角保留遠近透視、縮放比例,以及目前視角的方位。
建立視角並命名以供日後取出使用:
- 將模型旋轉至所需要的視角,例如:

- 可選擇性地輕觸「視角立方體」(上圖中藍色箭頭所指左側),選擇 [開啟遠近透視],和/或 [縮放至適當比例]。您也可以剖切視圖 (開啟剖切視圖) 並調整剖切方式。
遠近透視顯示從視埠到模型的相對距離,並建立趨近模型時做為視埠 (或假想的攝影機) 的消失點。
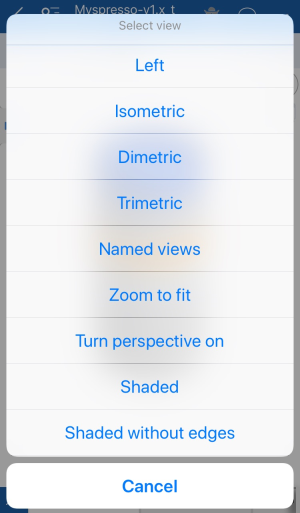
- 輕觸 [視角立方體] 來存取視角立方體功能表,然後再輕觸 [命名視角]:
-
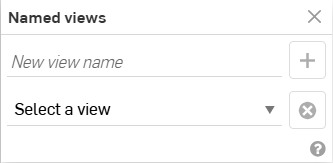
在對話方塊的第一個欄位中輸入視角的名稱,或是輕觸 [選擇一個視角] 來選擇之前儲存的視角:
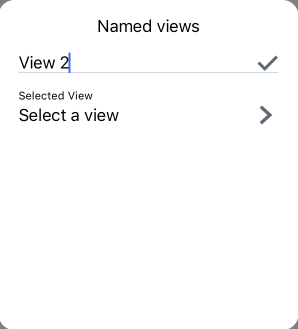
- 輕觸核取記號。
刪除命名視角:
- 輕觸「命名視角」對話方塊中的第二個欄位 [選擇一個視角]。
- 用手指在所需的視角上從右到左滑動來刪除視角。